Showing posts with label brass. Show all posts

Tuesday, May 27, 2025

Chess - Ah, Nuts!

A group of chess enthusiasts returned to their hotel room after a tournament, and were still standing in the lobby while bragging about the defeats of their opponents.  After an hour of loud nerds, the manager told them they needed to disperse.

"But, why?"

"Because," he replied, "I can't stand chess nuts boasting in an open foyer."

Perhaps, I had better apologize for the pun. I'm not sorry for it, but I will apologize.

I'm one of "those" kinds of people who loves chess, cars, and I do spend my fair share of time on Pinterest.  I spend little precious time playing video games, and a lot of time just exploring.  And, while in Pinterest, I have seen numerous instances of chess sets made out of fasteners (you know, nuts-and-bolts kinds of things).

Now, a little insight into me in general - I have chess sets.  I have chess sets my dad gave to me when I was 8 or 9 years old.  I have marble chess sets, glass chess sets, wood chess sets (a folding one, and a wall hanging one), and I had a friend make a set for my dad in a machining class out of aluminum (it's anodized blue and clear - it is a beauty).  I'd even made my own by using an existing set and creating molds for the pieces, and casing my own out of green and gold resin (I made a folding chess board back in 8th grade wood shop class - it is definitely rough, but I'm keeping it as is).  I have sets for Lord of the Rings, and I'd like some other resin-cast variations.  Simply put, I LOVE chess sets!

But I do not have my own metal set, and these looked intriguing.  I wanted one.  The materials are not a cheap way to get into the game - trust me, you can find MUCH better options out there (that are even regulation sizes and a bit more portable for things like chess in the park) as cheap as $21.

So, I decided to try my hand at it, just because they look pretty darn cool.  Here's what I ordered :

Repeat the purchase for the other color (I went with black to give it a good contrast - for machining, you basically have brass/gold, black oxide, polished stainless, or just a steel).  I've thrown it all into an amazon list if you are extra lazy.  Just know this is not exactly cheap.

Now, it is time for assembly.

For a pawn, just take 8 of the 20mm bolts, and tighten the acorn nut on as tight as you can by hand.  Maybe a little tighter, but this isn't structural, so you don't need to worry about it being really tight.

For a rook, spin onto the 30mm bolt a regular nut, followed by one of the "castle" nuts (they are officially called "castellated" nuts, and they are used with cotter pins to keep a nut from spinning off of a thread for shafts in things like cars).  Put the peaks upward, and when you have all rooks top nuts in the right position, bring the other nut against it to lock it in place.

For the knights, just thread the lamp rings on.  The improper thread size will lock them in place fairly quickly.

Bishops, treat JUST like the pawns, but with the 40mm bolts.

For the king, just like the rook but with a 40mm bolt.

And for the queen, use a flange nut upside down and a lock nut.


The set doesn't look bad at all in the above photo, (it is incomplete, e.g. the queen is not done).  Additionally, I assembled some black pieces, because contrast between black and gold is just... beautiful.

If you look closely enough, there are still some parts missing (black rooks and king are both missing the "crown", brass queen is missing the flange nut).  Once those arrived, it was relatively easy to complete the set.

Still, I'm debating in my head around making a chess board using gold and black without machining one from stock and going through the black oxide process, etc.  Still working on that thought, but it might ultimately come to that.

Saturday, July 2, 2022

Pen Makers Trophy Shelf

 I have some treasured pens, both from when I made some, and also from some family members and dear friends.  They've sat in a pile on my desk for some time.  As I started reclaiming my desk space, I had to shift the pens from a pile onto a display rack of some sort.

I ordered some acrylic sheets and a flat bar of brass.  The acrylic sheet was 1/4" thick, and 12" x 24".  I marked off some dimensions that looked good to me (yes, I put a story board on the acrylic protective layer).  With a sheet 24" long, I could theoretically put 23 holes across... but the sheet wasn't quite 24" long - it was 23 3/4" long.  So, my design went from 23 holes across, to 22 holes across (oh, bummer).

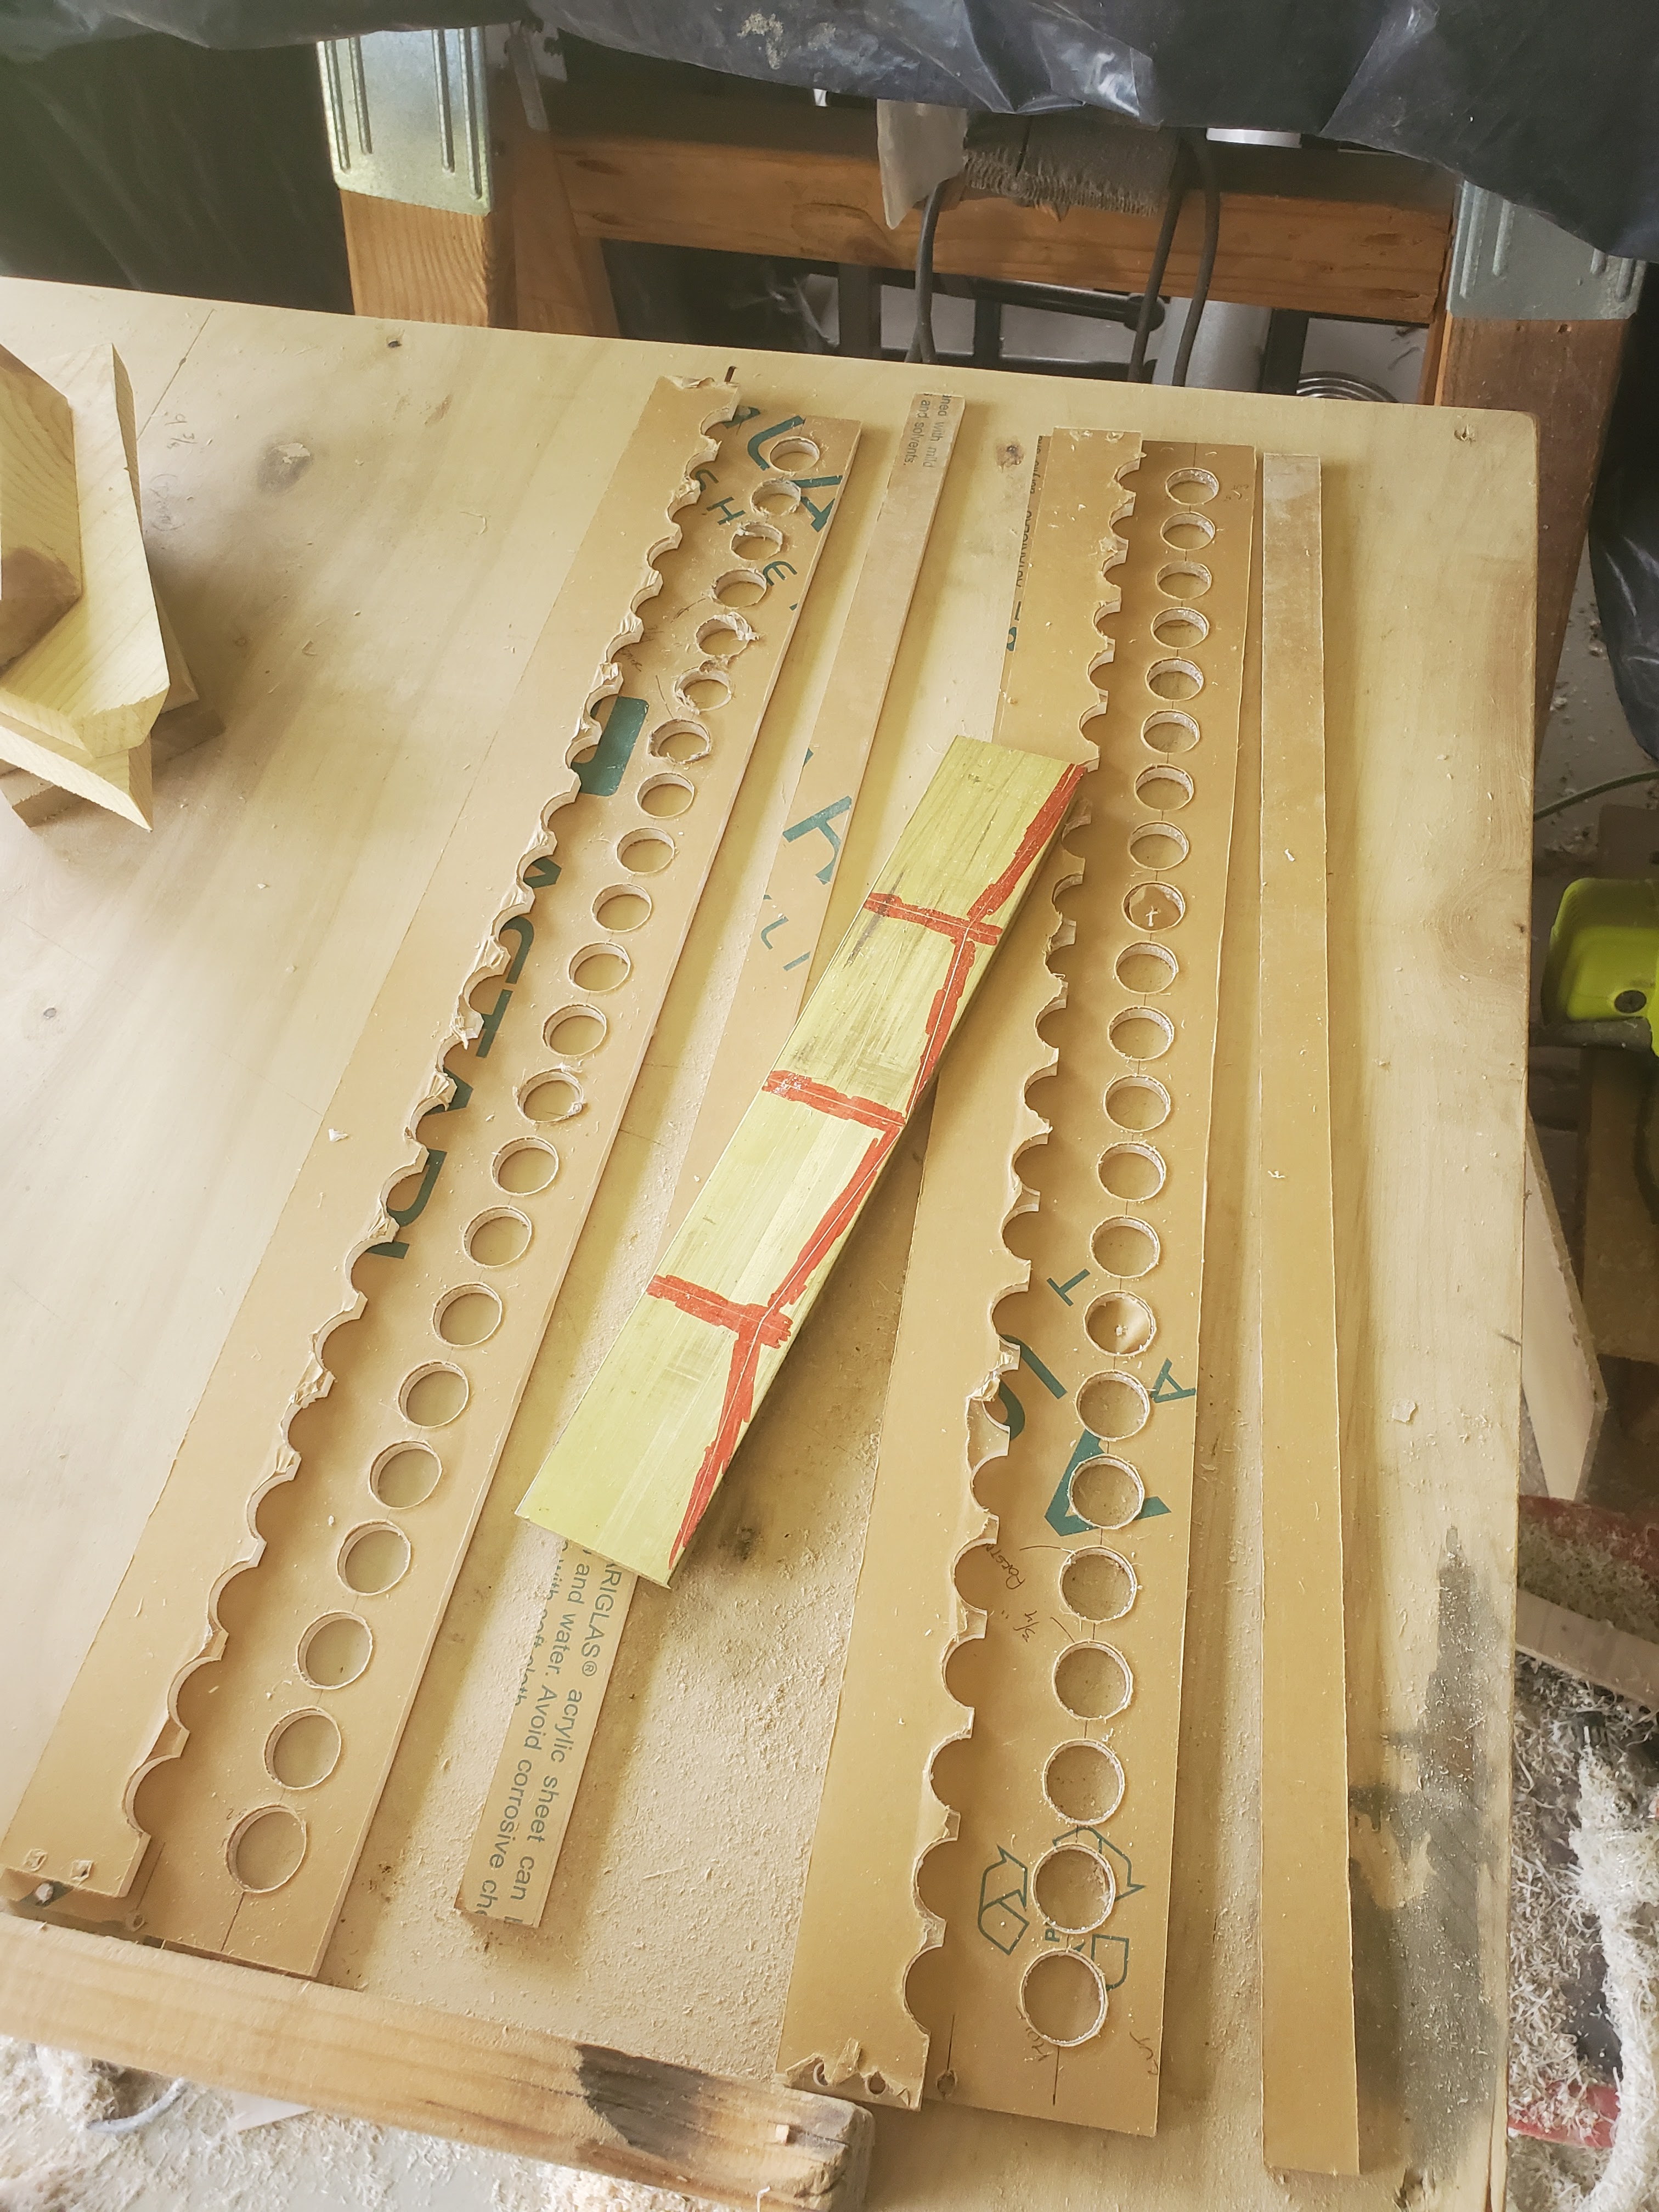
I drilled three rows of holes through the acrylic every 1" using a 3/4" forstner bit.  That was 66 holes., if you do the math.

While there, I also drilled clearance holes through the same acrylic sheet to attach brass flat stock for shelf risers (separating a bottom shelf from a top shelf - and now that I have mentioned top shelf, I feel the need to go watch some hockey).  Once the drilling was complete, I fed the sheets through the table saw.

I absolutely took my time on this - and you should, too.  The last time I fed plastic through the table saw, it grabbed to the blade and was hurled up and back at me so quickly that it could have been fatal if not for the eye protection.  TAKE YOUR TIME, and use push sticks in constant contact at all times!

Three rows of holes equates to two shelves.  As you look at the above picture, you'll see one row of holes was cut lengthwise.  The bottom shelf on each one sits farther away from the wall with a full hole, while the top shelf (again, I need more hockey) is only a half hole.  This allows a pen to lean against the top shelf (oh, puck!), and be easily removable when I want to use one.

With the holes through the bottom, I needed to glue the last thin strips onto the bottom of the bottom so that pens didn't fall through (it was a bit of a duh moment, and I didn't want to order a new sheet - I had two 3/4" strips left over from slicing the shelves out of the acrylic, and that would be perfect).

I thought I'd use a heat gun before anything else to "clean up" the saw and drill edges - to get them a little more clear and a little more professional. You know, the usual thoughts about burning plastics when thermoforming such as being quick, and don't get it too hot or the acrylic might change color (e.g. it could burn and become more opaque if you go too long).  I ran some off cuts through the process.


While it worked a little bit, it did not get the edges very clear.  I had to fully remove the wrap, or the edge would bubble up and get some discoloration.  Anyway, with the little result for a lot of effort and chancing really hosing it up, I opted against heat gunning the pieces.

So I could glue the thin bottom strips to the bottom shelf.  The glue I used was super glue - cyanoacrylate - notice the "acryl" in both of the technical terms.  Be careful as you apply it to acrylic - it quickly adheres and if you get it in the wrong place.... well, it won't clean up.

Earlier, when story boarding, I also marked the brass flat bar for saw cuts.  I fed these through the bandsaw. 

I want to see how this is going to look.  Time for a quick mock up.

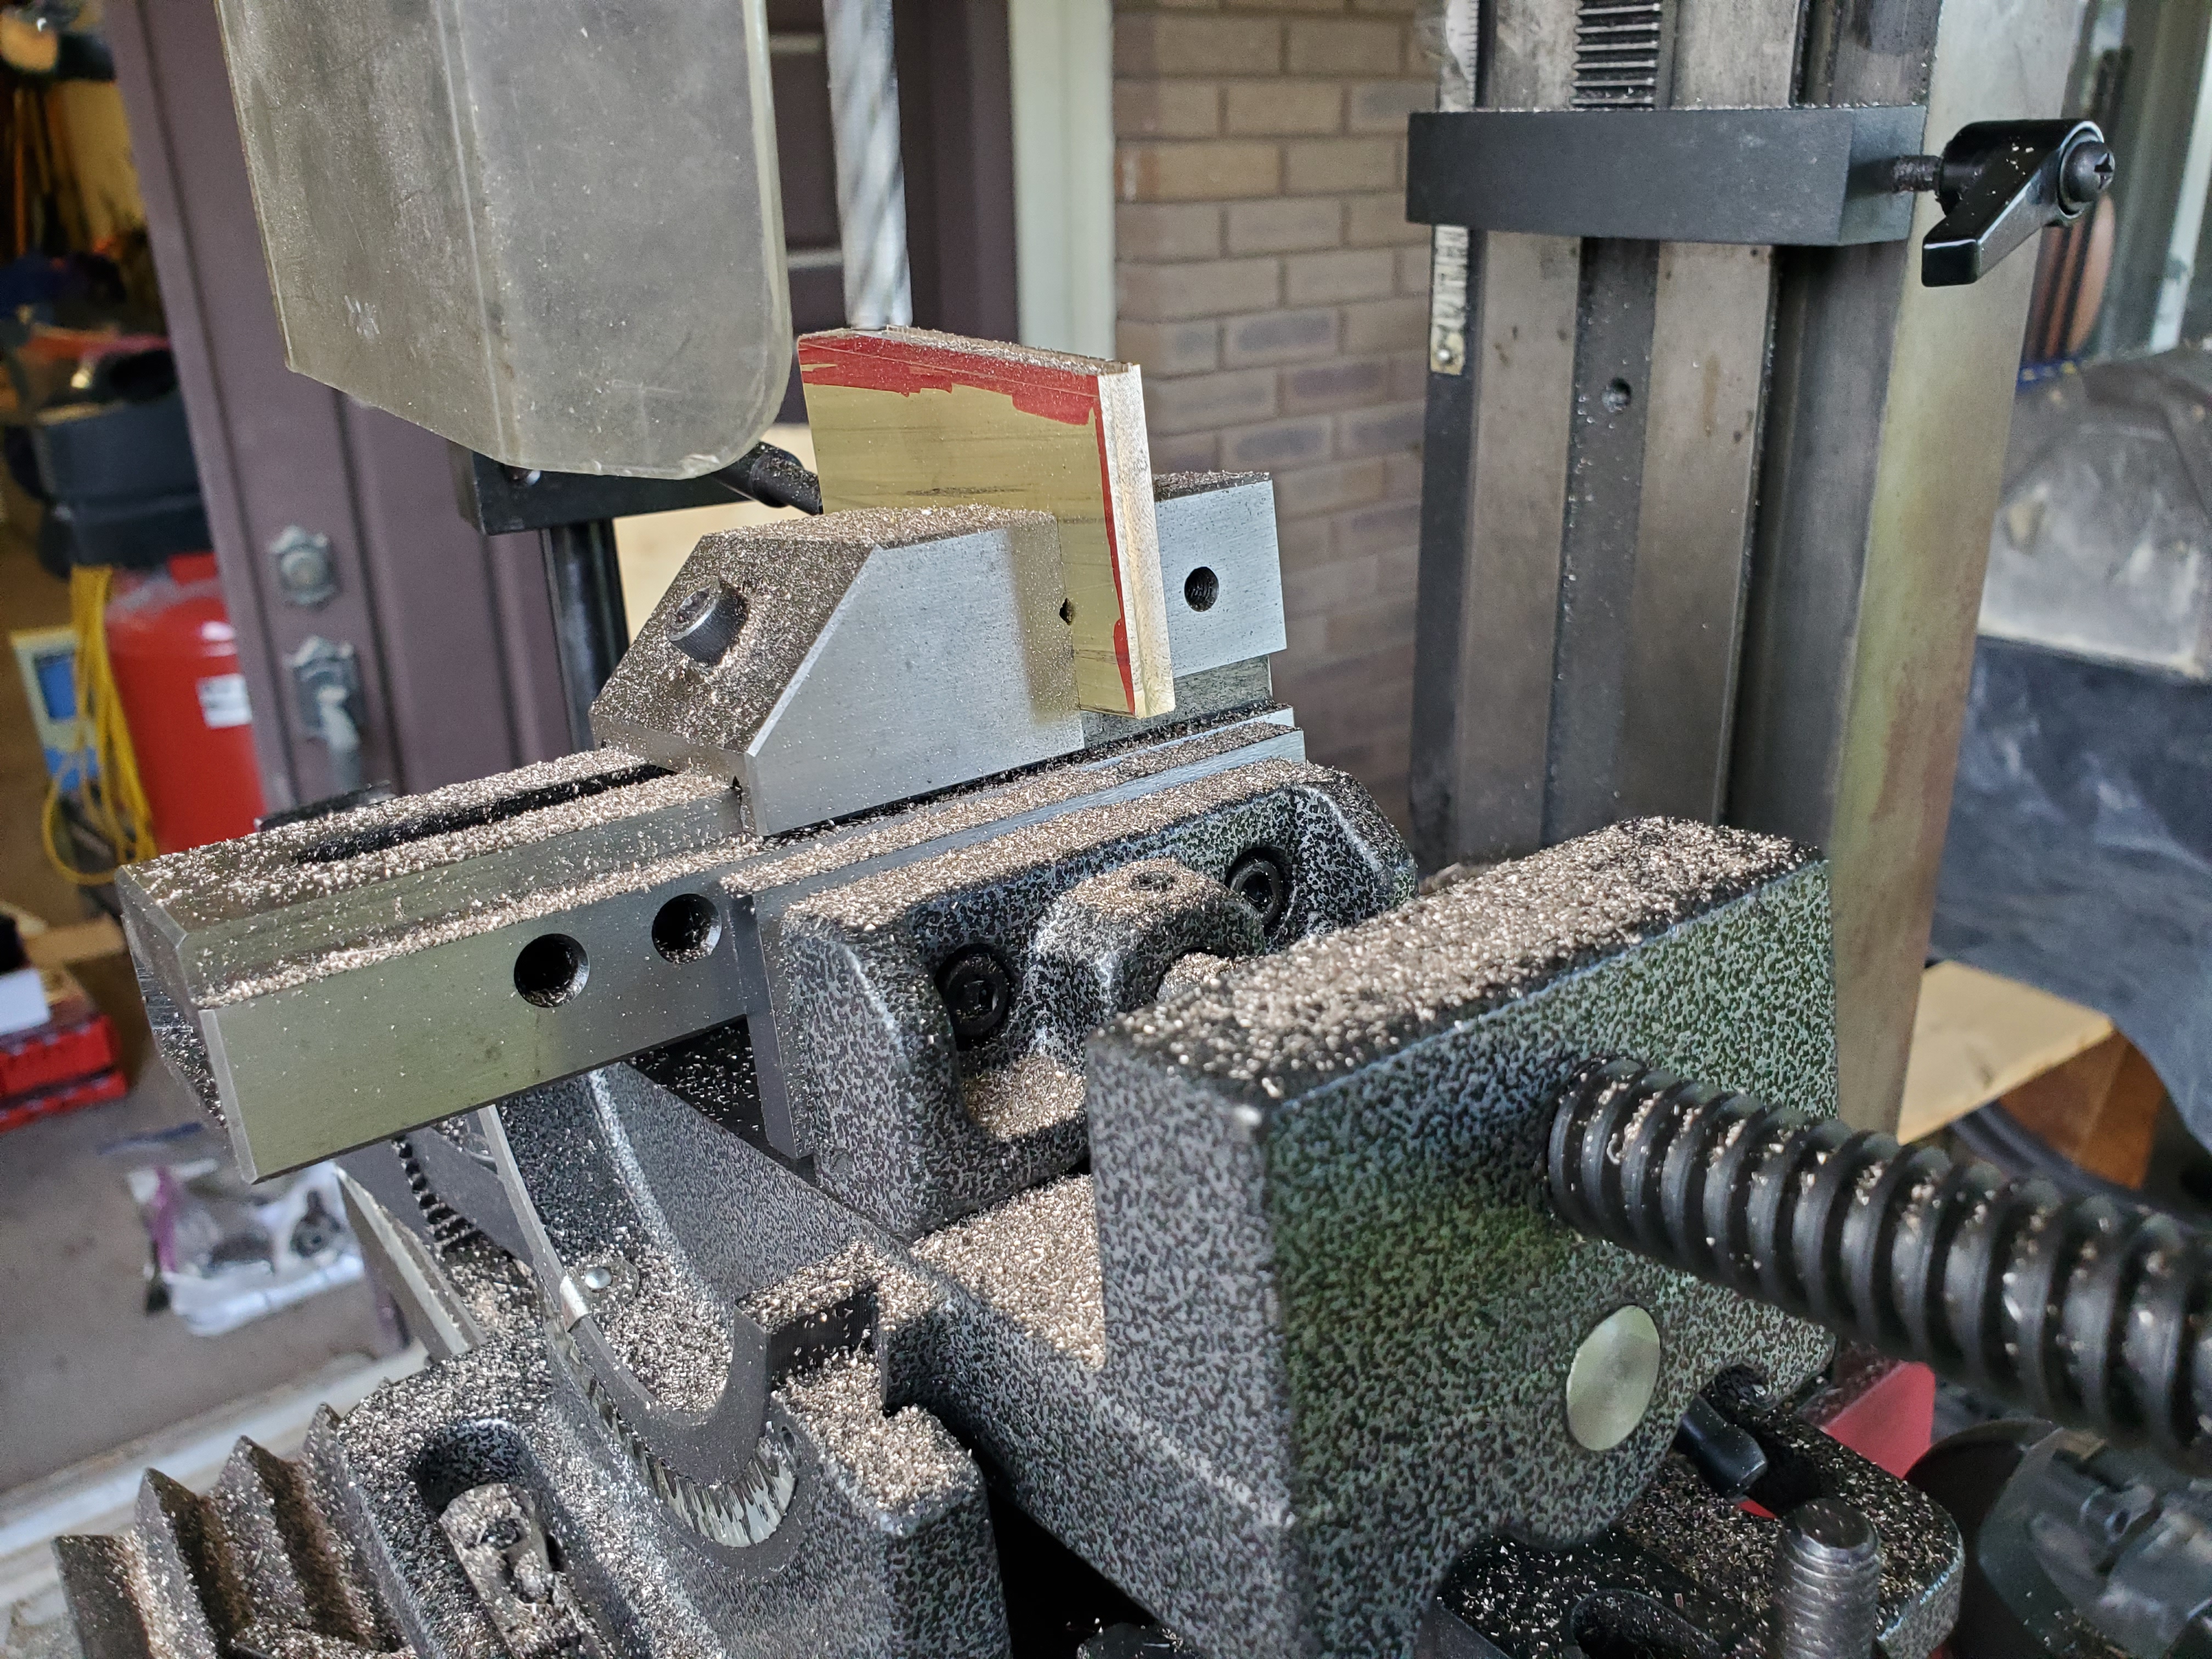
While it looks good from here, those are still bandsaw cuts.  They are rough, and not something I'd be willing to display yet, let alone be a back drop for other displayed items.  I need to clean it up.  Enter the milling machine.


Yeah, I had to see it set up.  It was time to sand in order to remove any mill scale and apprentice marks (e.g. when you drop it and ding it up).

While here, I took the time to sand the rough edges of acrylic, and I hit them with a torch.  Remember when my impatience got to me?  Sanding the acrylic saw/drill surfaces to 2000 grit and then hitting with a torch actually improved those edges.


Slap some pens on that just to see....


The shelves look fantastic, and have definitely cleared up my desk surface a bit.  I am sending one of the two shelves that was built to the person who makes pens as his hobby.  I might as well share the joy.

Saturday, February 3, 2018

Remote Control Cheapness Turns Into New Part

Today was my first Saturday that I could do anything.  I had some stuff to do (like cleaning bathrooms, vacuuming, and mopping the floor).  I also had a request from someone that I needed to do.  They had a radio-controlled car that had a piece of plastic in the controller.  That little piece had snapped - it wasn't built well enough (many people had that same problem).  He wanted me to make a replacement (probably thinking 3D printing, but I ultimately chose brass).

I initially tried to glue it together to get it solid enough to get an outline.  Epoxy didn't do very well.


Again, if I'm going to make a part that has stresses applied on it, I'm going to make it solid, so I chose brass.  There was one issue, though - the part was 0.1" deep.  Nobody makes anything exactly 0.1" thick.  I grabbed a chunk of brass cutoff from a local shop (I love my local supply store).  It came at 0.1875" thick (3/16"). I needed to break out the mill, but I had to clean it first to have it ready to run.  I took it apart.


Once it was dismantled, I started cleaning things off (lots of cosmoline coating everything on it).  I grabbed a few photos of the cleaning process, just to show how much cosmoline was on that thing.  Appearances of the differences are pretty stark.


Next up was the actual intent for breaking it out - I needed to machine the brass from 0.1875" down to 0.1".  I don't have a hold-down clamping set for this thing, so instead I found some 3/8" threaded rod, grabbed some scrap and punched holes in it, and bolted it down.  I found the top, then milled it out :


Now that I had the brass "plate", I could cut the part out.  This was when I tried to epoxy the two pieces together.

It didn't work, but I was able to clamp both parts down in place enough to get a trace of the part.  Once I had that, I used a cutoff wheel on the Dremel to slot down to the outline.  Once I was "close enough", I used some small needle files to finish it to size.  I also filed some of the edges down to get it to the right part.


Next up is giving it back over to that guy to see if he can make it work.