

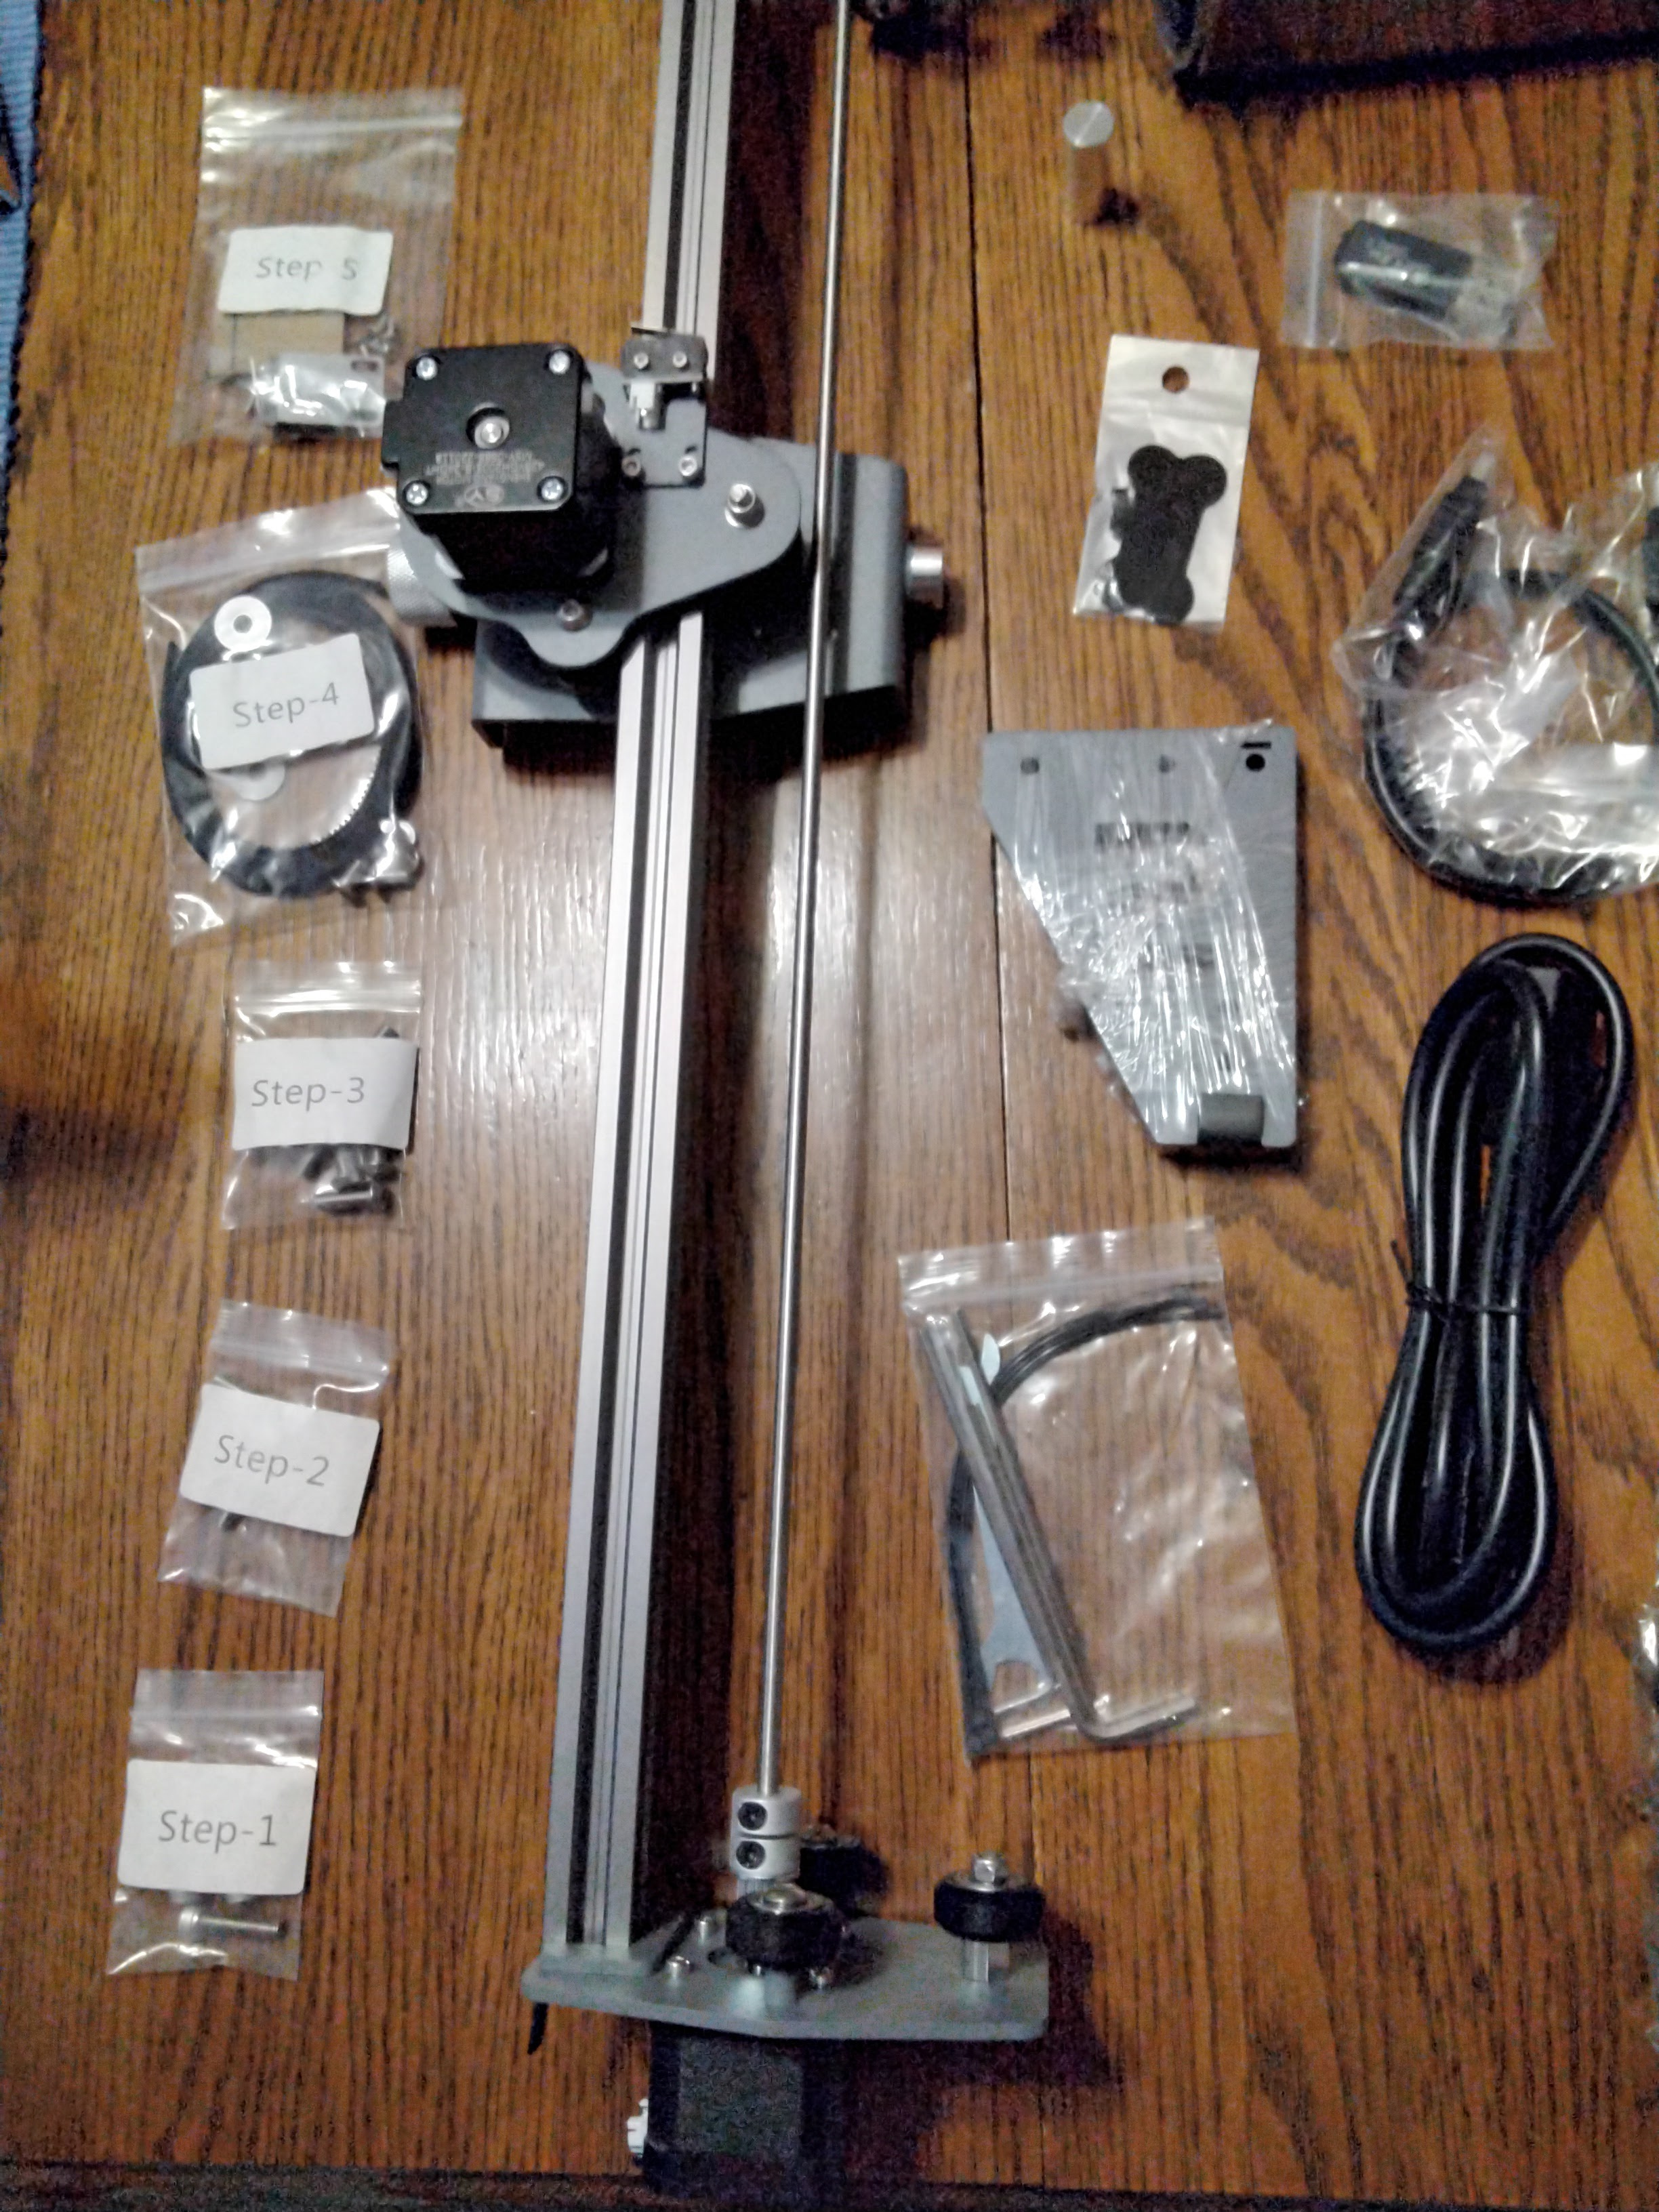
My sister bought a laser engraver. I'd always been curious and had the desire to have one, but she pushed me over the edge when she told me they had a coupon for purchase off of Amazon. I ordered the 5 Watt Smernit, and they accidentally sent me the 10 Watt. First, a quick layout of the parts :

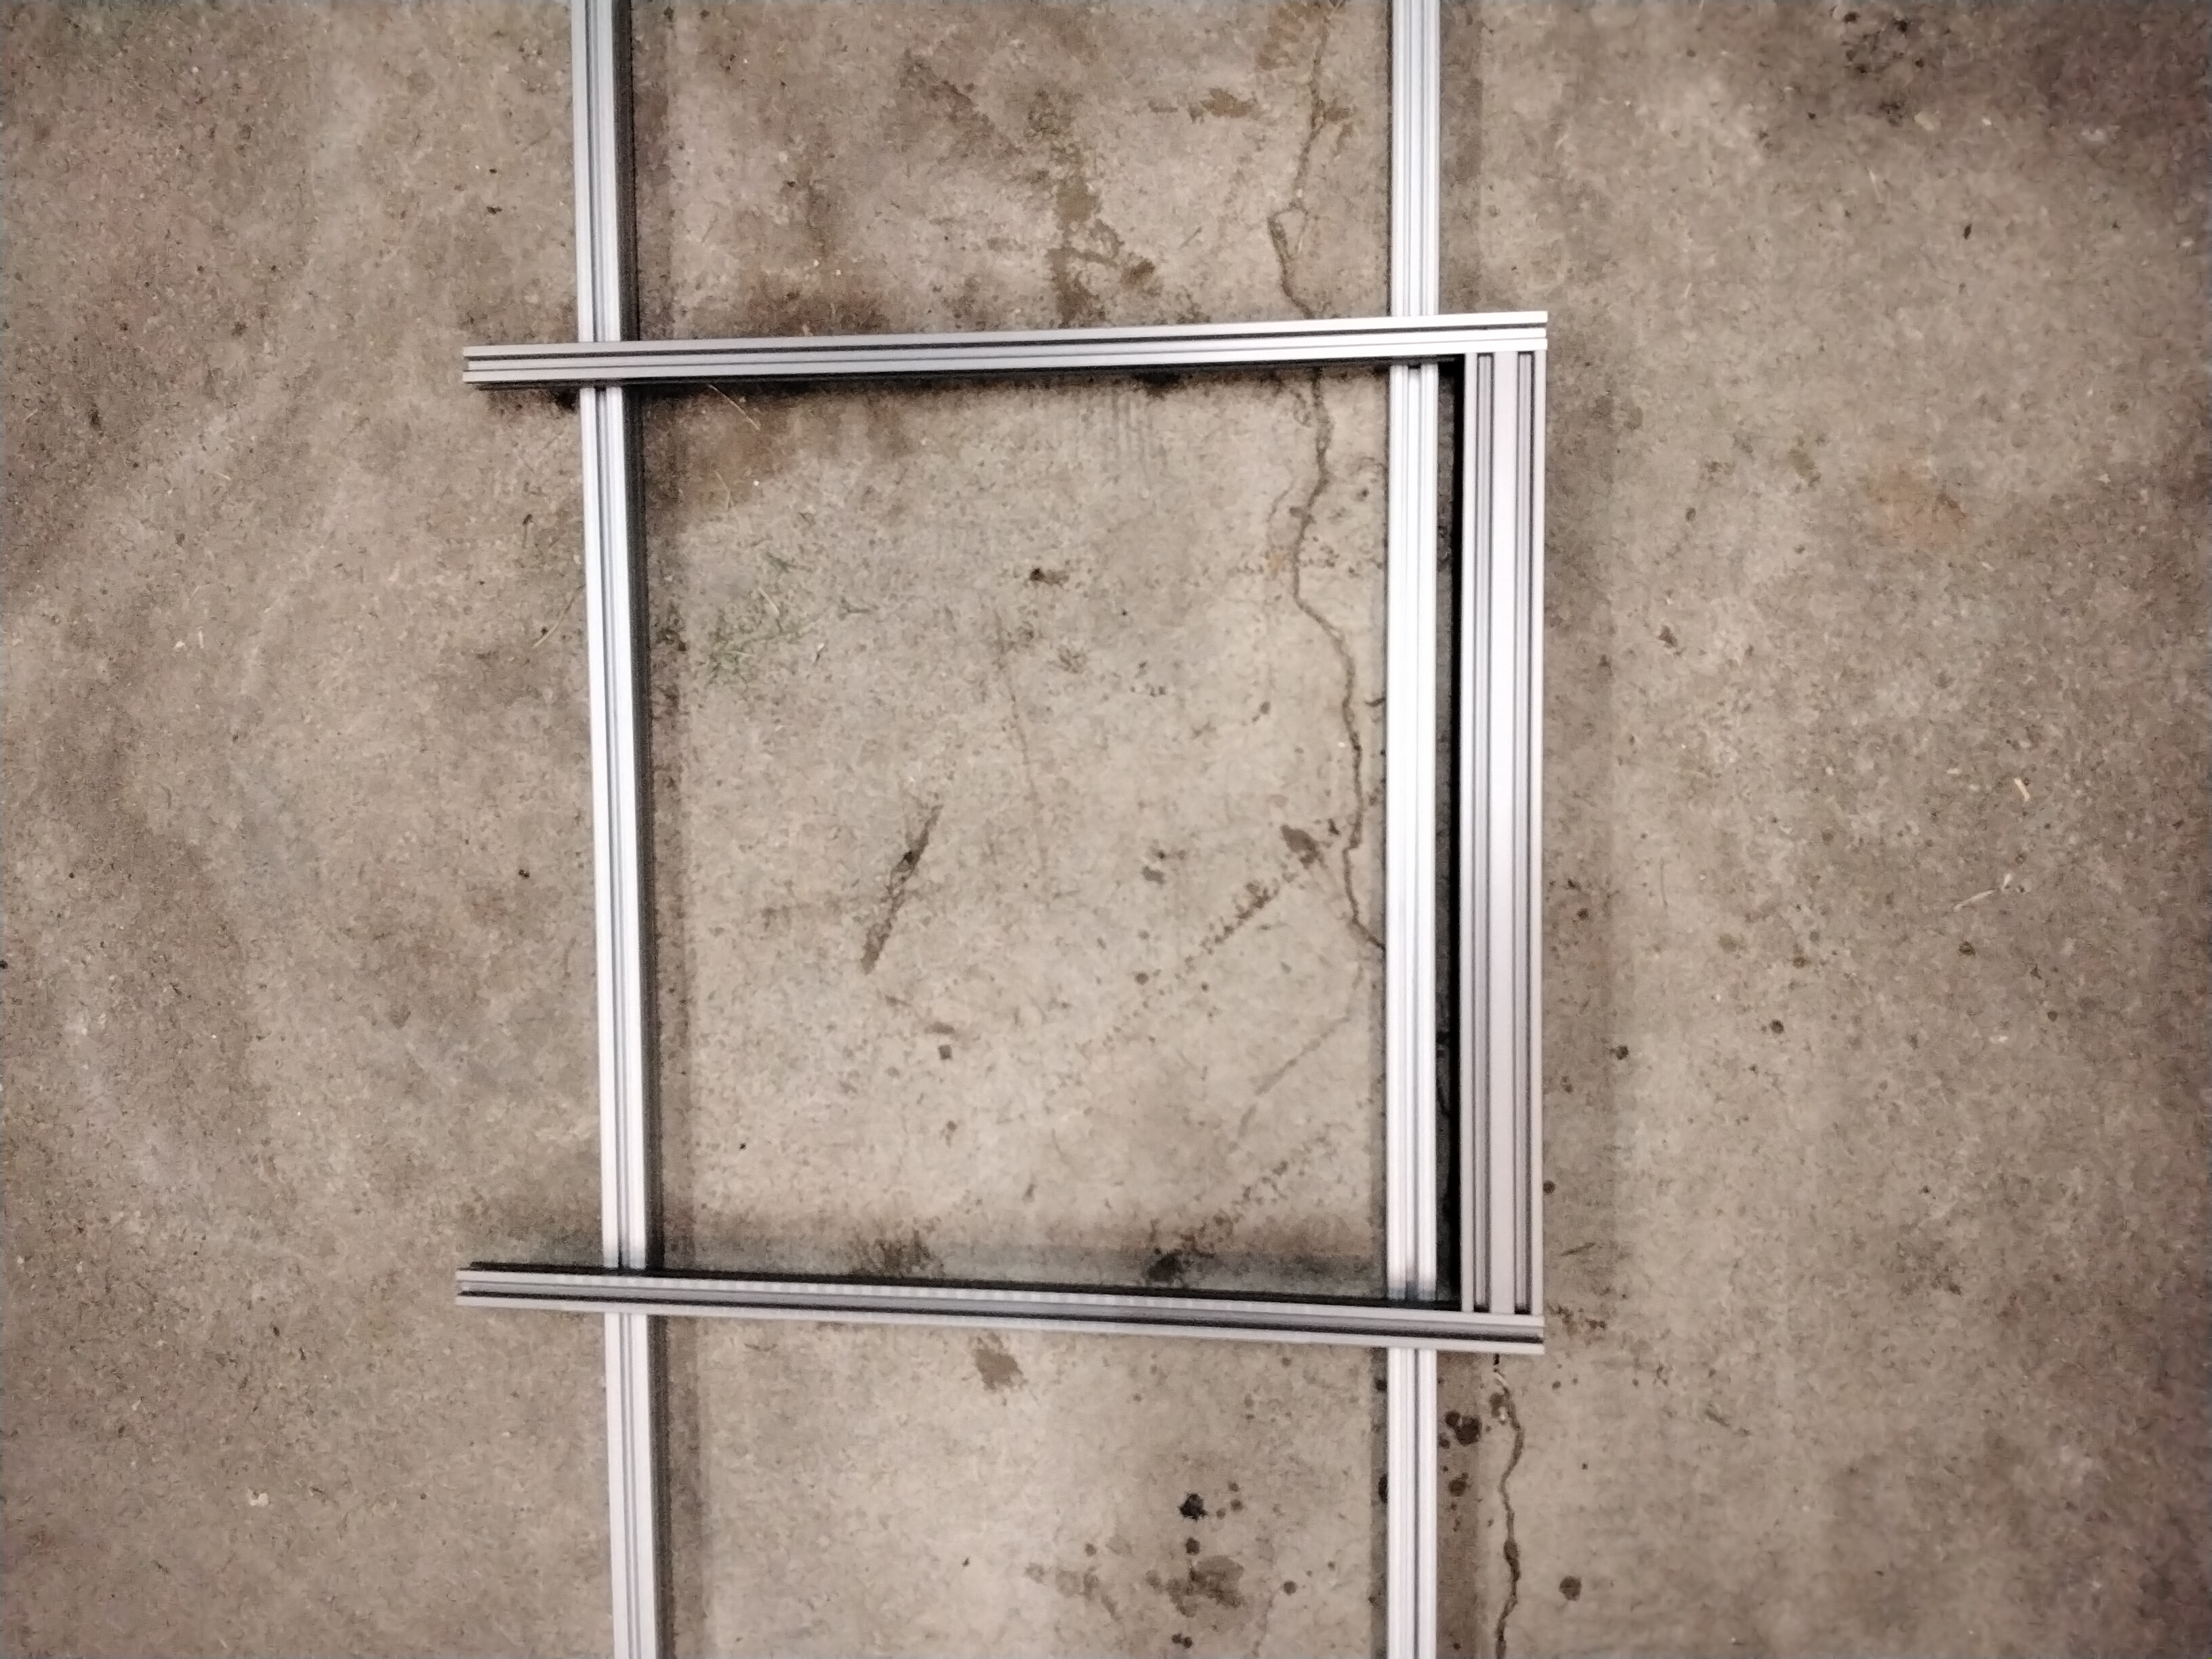
I put it together like a welder - corners set up, three points for squareness, 1-2-3 blocks, etc. I wanted this one to be more solid than my 3D printer.

Once it was assembled, I had to finish the software side of it. Being a proponent of open source, I needed something that would run on Linux, and was recommended specifically for laser cutters. I ended up choosing LightBurn.

Make sure your user is a member of the "dialout" group so LightBurn can talk to your USB, if you are going to hook the computer directly to your cutter. I don't keep the tools and the computers close together (smoke in the house kind of thing), so I opted to just create a "laser cutter" based on GRBL that had 400mmx400mm (15.7"x15.7" is the manufacturer-claimed cutting area) inside of LightBurn. The Smernit has an SD card, so I can export G-code, copy it to the SD card, and walk it out to the "shop" for cutting. My settings :
| Type : | GBRL |
| How to Connect it : | Serial/USB |
| Name : | Smernit 10 Watt (Make your own up) |
| X Axis Length : | 400 (mm) |
| Y Axis Length : | 400 (mm) |
| Origin : | Front Left (determined by finding where the limit switches are) |
| Auto "Home" On Start | Yes (really, doesn't matter, I'm not connecting it) |
I could not get it to find the laser cutter, hence I had to create it manually.
Anyway, I ran a few tests on the excess panels used in the tool chest build (as of this writing, it hasn't been published) using my SilverHawk logo (registered trademark, folks) SVG until I had the power and speed right.


My next objective was to engrave on a hot cocoa mug (I had ordered the rotary attachment from another device). I grabbed a mug from the dollar store, and later realized that rotating a cone on one of these will eventually cause whatever is sitting on it to slowly work it's way off, completely messing up the engraving.
So, I built a quick little bearing to keep it aligned while the conical shape could be turned. First, the drawing (on my tablet):

Then, I used an old machinists trick to make washers the size of my bearing. I drilled three sheets of shim (the thin stock is sandwiched between two boards to allow you to grip, and to prevent rip) to the inner bore of the bearing, then put the shaft into the collet between the same boards. This allowed the outside to be turned to diameter.

Then, using a small piece of aluminum angle, I drilled holes for two slots, and one hole for the bearing shaft. I filed it all smooth, and then assembled it.


This allowed the cocoa mug to rest on the rollers, and to prevent it from slipping off.

No comments:
Post a Comment