Showing posts with label laser. Show all posts

Sunday, March 12, 2023

Trying a Trailer Toolkit

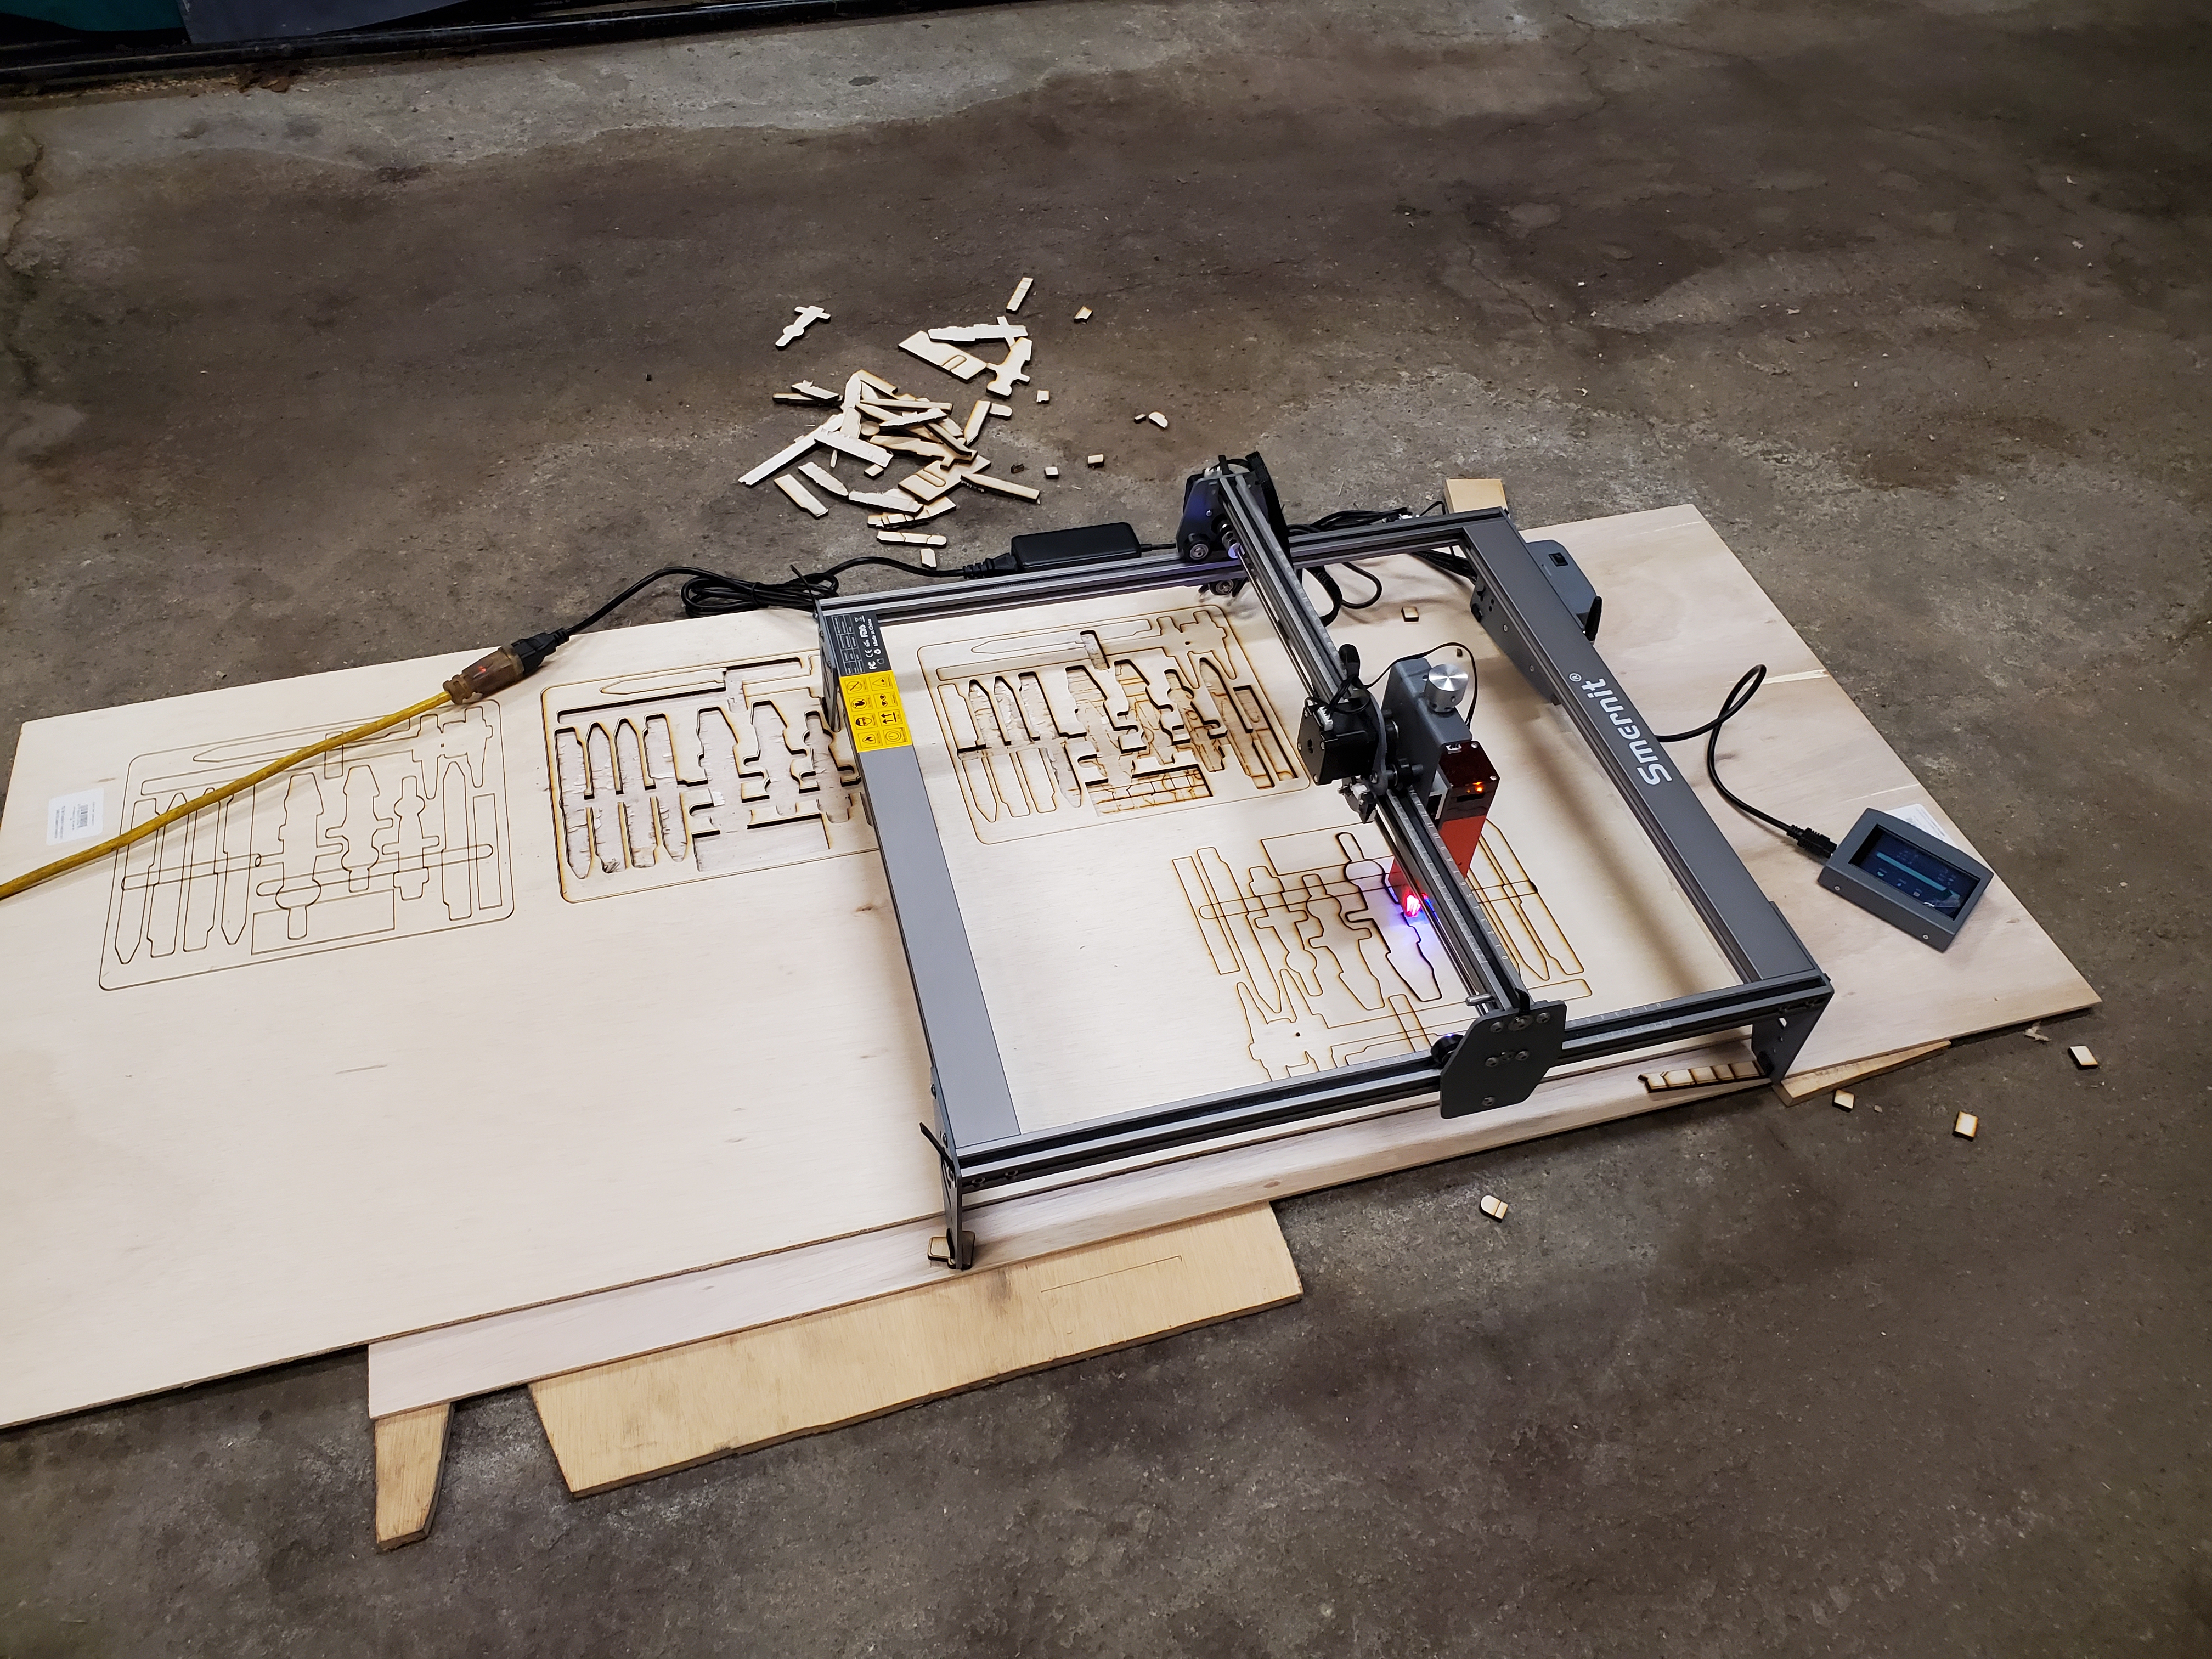
 Tsk, tsk, tsk! As soon as you get a new tool, you start really playing with it to see how useful it can be.  Enter the laser "engraver".  I ordered some thin sheets of ABS (and some 1/4" for backing), and used the laser to cut out some thin profiles, and to mark the thicker stuff.  Then, I bolted it together.

The M3 threaded rod was trimmed to length (three were left longer than normal so that I could lock it together).  I added some butyl rubber feet on the bottom to clear the M3 nuts on the bottom end so I didn't scratch anything up (epoxied to the ABS, and then a second layer applied with superglue).

And closed, it holds it (even vertically) fairly well.


You should know, I really needed an organizer for the custom tools that I would require for a trailer.  The hitch is an E2 hitch, and everything for the temporary work on the trailer (except for lug nut sockets - I still need to get those) in an emergency is now easily accessible.

Thumb screws to finish it, and it fits perfectly and keeps it all together!  I'll use a portable socket set (one of those cheap craftsman variants), and have the basic tools required.

So far, my tools :

  • 1/2" Breaker bar
  • 1/2" drive ratchet
  • Adapters to allow 1/2" tools to work with smaller sockets (turning my 1/2" drive ratchet into a 1/4" and 3/8" drive)
  • Screwdriver
  • 1/2" drive lug wrench
  • 1/2" drive extension
  • Screw driver bits
  • Lug nut sockets (harbor freight has some really cool double-ended ones that I already keep in the truck, and I'll get another set)
  • Some battery chargers and cheap harbor freight cordless tools
  • Torque wrench

Nice!

Friday, January 27, 2023

Using Laser Engraver, Plywood, and Poor Quality Control

I've had some rOtring drafting implements (pencil and pen) that I wanted to protect a little more than having them bounce around in a drawer all the time.  It dawned on me that I have the resources I need for a custom kit box.  I opened lightburn, and sketched out my pencils/pens and some old (albeit rusty) compasses that I'm going to clean up.

The next step was to load this into the laser cutter and make a run at cutting this out.  I used 1/4" plywood from some random store that had orange markings (Dome Hepot, I think is the name).  I set it up, and cut three out (and two solid with just the outline).  I started with a single pass at 20mm/s and 100% power, and counted the passes required to get through the material.

 It took 15 passes at 20mm/s and 100% power to "get through" the plywood.  So, I loaded the lightburn up again, and changed the cut to repeat 15 times, and started it off again.


When I pulled everything off and flipped the board, I found that it did not cut all the way through in some places.  Further check confirmed that the 1/4" plywood was shallow in some areas 1/32", and it was thick in some areas by 1/32".  In other words, this material was up to 1/16" out of parallel.

[sigh].

Oh, the lack of quality control, all to make a buck.  Next time, I'll just order some real wood from Amazon in 1/4".  I think I'll have better luck.

...anyway...

After the irritation subsided enough for me to break out the hobby knife, I finished the final 1/16" cuts, and pulled the parts together.  I glued two templates and the bottom together, and one template and the other panel together, and then loaded the "boards" under a portable tool set for the weight, and gave it a few hours to get up.

Once out, I just HAD to check it.

This will work.  I used a 1/8" router round over bit to round the edges, did a quick sanding job, and threw stain (dark walnut) on the two halves of the clam shell, and gave it a coat of lacquer.  I also took some dark blue felt for a machinists' tool chest and fed that through the laser engraver, too (two pieces - well, three in case I messed one up).


With them looking pretty much perfect, it was time to glue them into place. I used 1/4"-20 hex nuts as spacers to allow weight to keep the felt down (my old Digital Fundamentals college text book, and my old welding text book as well, were about perfect sizes).  I only did one piece per clam shell half in order to keep myself from getting too stressed, and added the weight/book, and waited before doing the other piece.


I tossed in the merchandise just to see how it looked :

It will do nicely.  I ordered some oiled bronze hinges and a small latch (for a jewelry box).  I cut some space in using an X-acto knife for hinges, and then put it together.


 I guess I have to clean those compasses next.  I'm not sure the best way to proceed, maybe I'll take a stab at a rotary tumbler used for rock polishing, or maybe I'll actually put in the work to polish them using the wheels on the grinder.

Saturday, January 7, 2023

Laser Engravers, Resin, and Pen Turning Kits

Yet another project that has been on my back burner ever since I got the laser engraver/cutter was cutting a resin pen blank to make a custom, single instance pen blank for a buddy that loves working in his shop.  It turns out he is a pretty crazy University of Utah nut, so I thought I'd use that logo as a test candidate.  It's not even a precursor to the real project, this is more of a feasibility test.

So, I grabbed the SVG logo from Wikipedia, and then imported it into LightBurn.  This is a "round" thing (it's going to be turned on a lathe), so I had to use a rotary attachment.  Here's the deal - I attempted to use a rotary attachment that used wheels that were WAY to large on engraving mugs - and it was a failure on the outcome.  Seeing as how these pen blanks would not have a handle, I decided to try a different rotary attachment.

Granted, with my recent foray into rotary's and CNC, I was a little skeptical.  I had to measure the roller diameter, and then used the step options to control the rotary from the engraver to determine how many steps to get a full 360-degree rotation.  It is a 12mm roller diameter, and it was 40mm on the engraver to get the full rotation.

With those numbers, I could plug them in to LightBurn, and then I could start to play with this new device.

Once I had LightBurn configured, it ran pretty decently, actually.  I slapped a piece of masking tape around one end of the round resin blank with a sharpie mark.  This allowed me to run a "frame" or an outline of the cut parameters in order to ensure it did not wrap more than once around the blank.  Once I knew it would fit, I could size the cut decently, and then start to play with cuts in resin.  For this, I went back to the non-rotary set up with scrap pen blank cut offs and started to play with settings.  I started out with a 100% power and a 20mm/s speed (default in LightBurn is 100mm/s at 20% power), and kept decreasing the speed and measuring depth with a feeler gauge.


With a 10w laser, resin seemed to cut at 0.060" depth using a 1mm/s speed at 100% power.  I calculated how many cuts it would take to get 3/16" into a 3/4" round resin blank (1/4 of the way in, I did NOT want to cut past center, but needed to get close, and I could always run a second pass) as 6 cuts.


I grabbed one of my blanks (I turned 2 round, just in case I hosed it up - queue your ominous music), and set it up to cut. I ran two passes and thought I needed to check it before doing the final four.


I had lines on the wrong side of the blank.  I made an assumption that it simply got out of sync, e.g. the blank got stuck or skipped in a turn.  I started cussing about having to make 6 passes if it got out of sync this badly with only 2, and started to re-think the process.  As I added "fill" cuts, (I wanted a hatch pattern I could use to break pieces out) to this new process, and to get cross lines instead of burning it all out, I opened the cut/layer settings (double click the cut) and alter the lines-per-inch or the line interval.  Apply those settings, and click on the display/monitor icon to see it increase (or decrease) the line spacing and make sure it looks good.

It was at this point, my brain went geometrical, and I clued in.  I grabbed the failure and held it up to the light, and.... yes, indeed... those added lines were simply coming TOO far through the blank - it was getting cut on the opposite side.

It turns out that, the farther away from the focal point you get, the wider the cut, and nearby cuts also get closer together.  I had to tone my settings WAY down.  I set it to cut at 100% power with a speed of 0.5mm/s, and this time I'd be also adding the cross cuts in the material I wanted to remove. I queued up my second pen blank, and let her rip.  I only cut once.


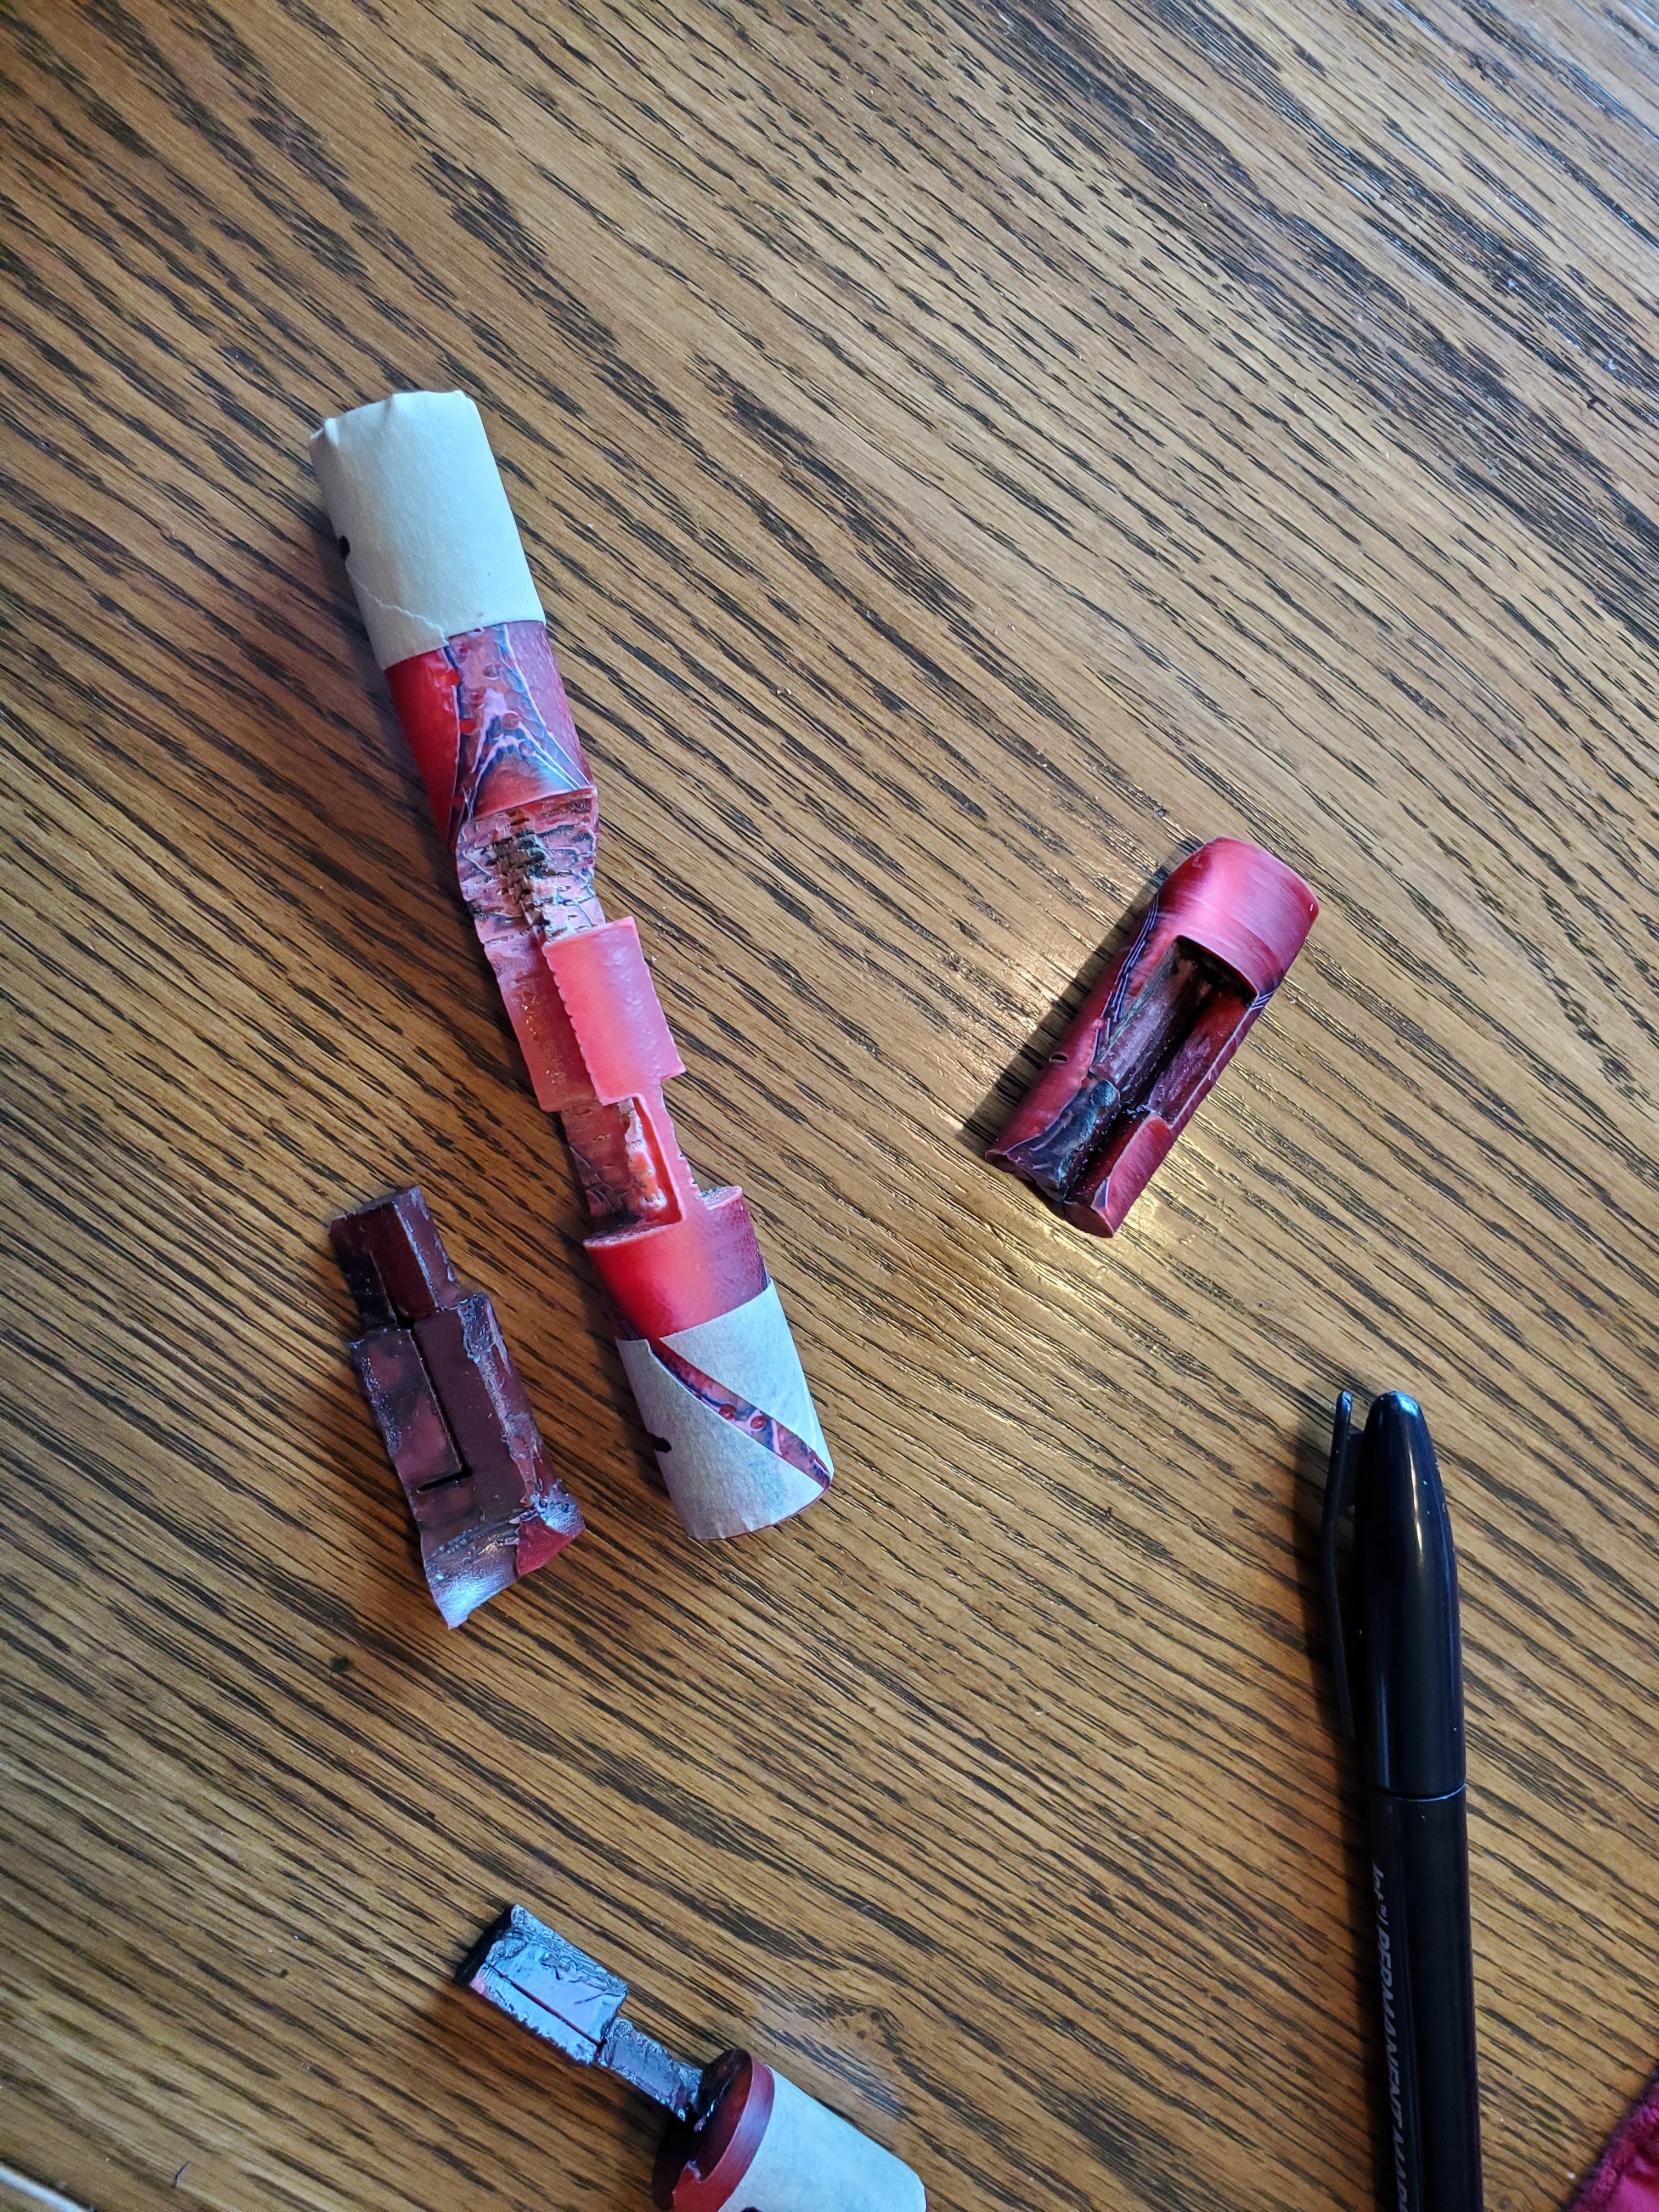
This looks much more promising as a result.  I grabbed some tweezers and started breaking the pieces out.


I used a Dremel to remove some gloss and melting (the epoxy had a hardened finish I think will interfere when I add new epoxy into the cavity.

It was at this time I realized I could take my "failure" blank, and break everything away from the failed cavity - essentially xor'ing the blank.  Instead of red with a silver "U", this would become silver with a red "U".  I could live with that.  So, I cleaned that one up, too.


I think I have two viable blanks in front of me - I just need to obtain some epoxy resin (the long-curing stuff that has the potential to get into every single nook and cranny of this cut-up blank).  I won't be turning these - I'll turn [sorry for the pun] them over to my buddy who can just give me feed back and tell me if they fly apart when turning, or just come up with a terrible finish.  But, it's an option!

Saturday, November 12, 2022

Conical Laser Engraving?

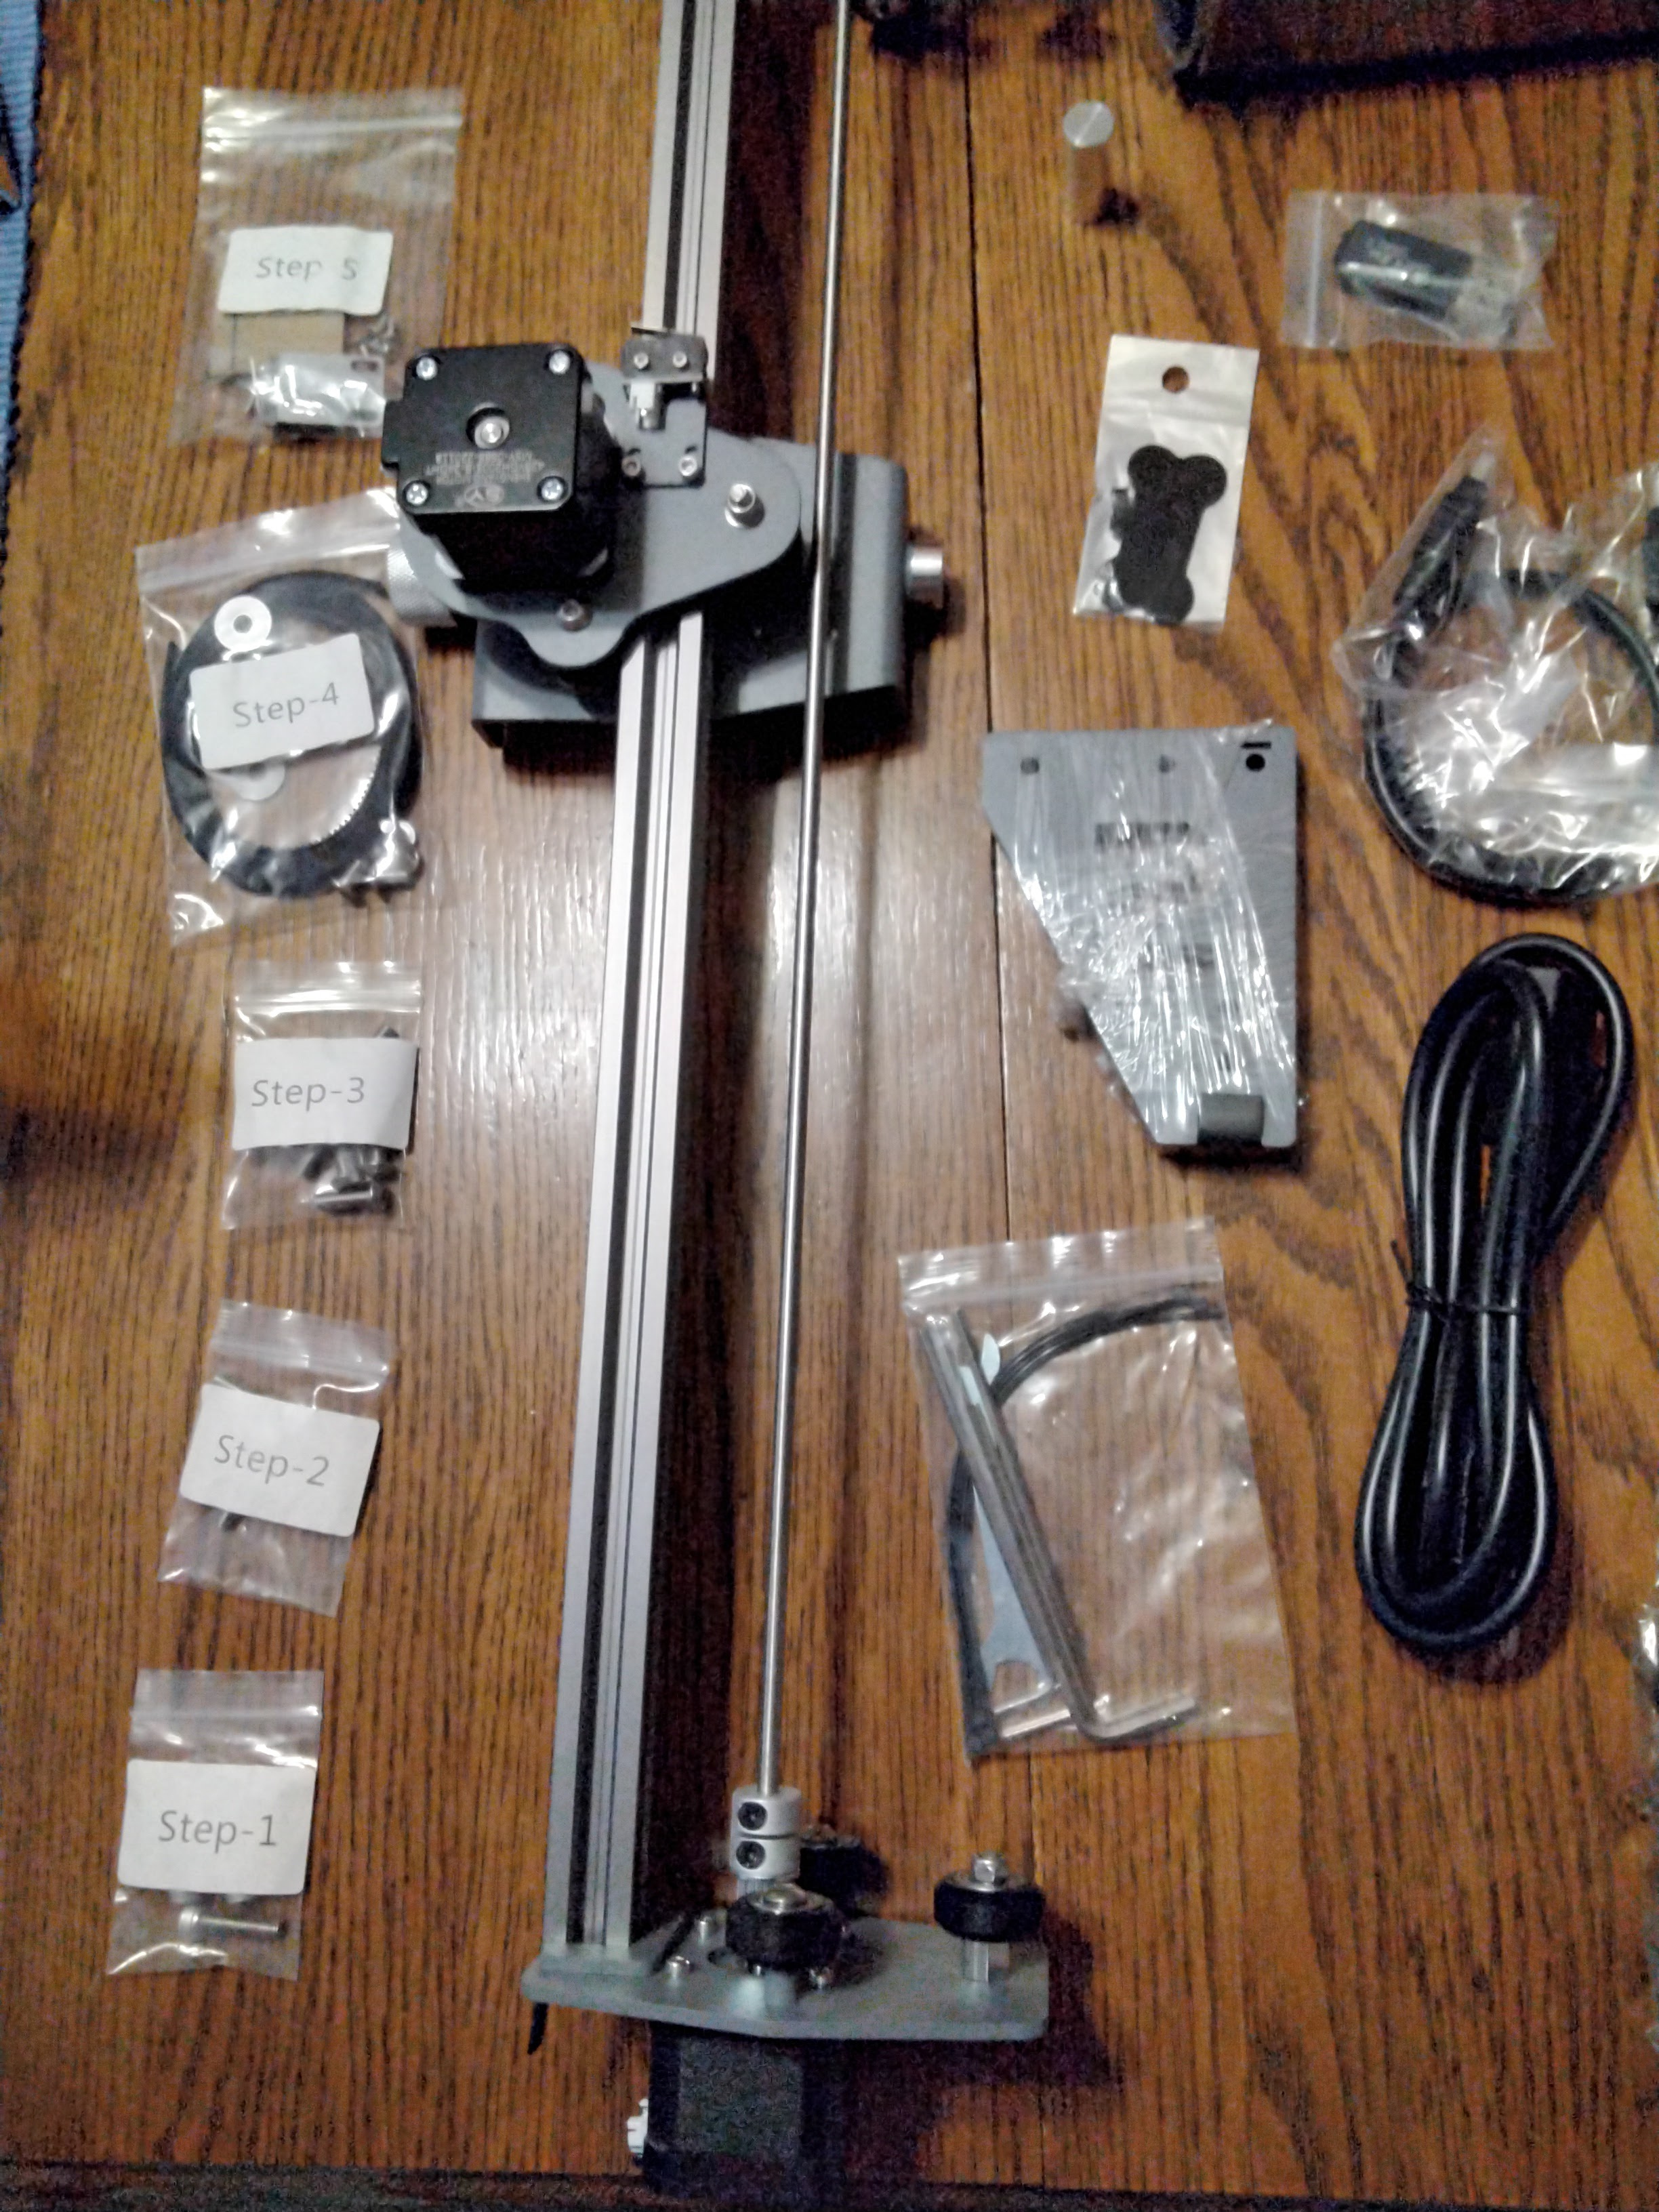
My sister bought a laser engraver.  I'd always been curious and had the desire to have one, but she pushed me over the edge when she told me they had a coupon for purchase off of Amazon.  I ordered the 5 Watt Smernit, and they accidentally sent me the 10 Watt.  First, a quick layout of the parts :


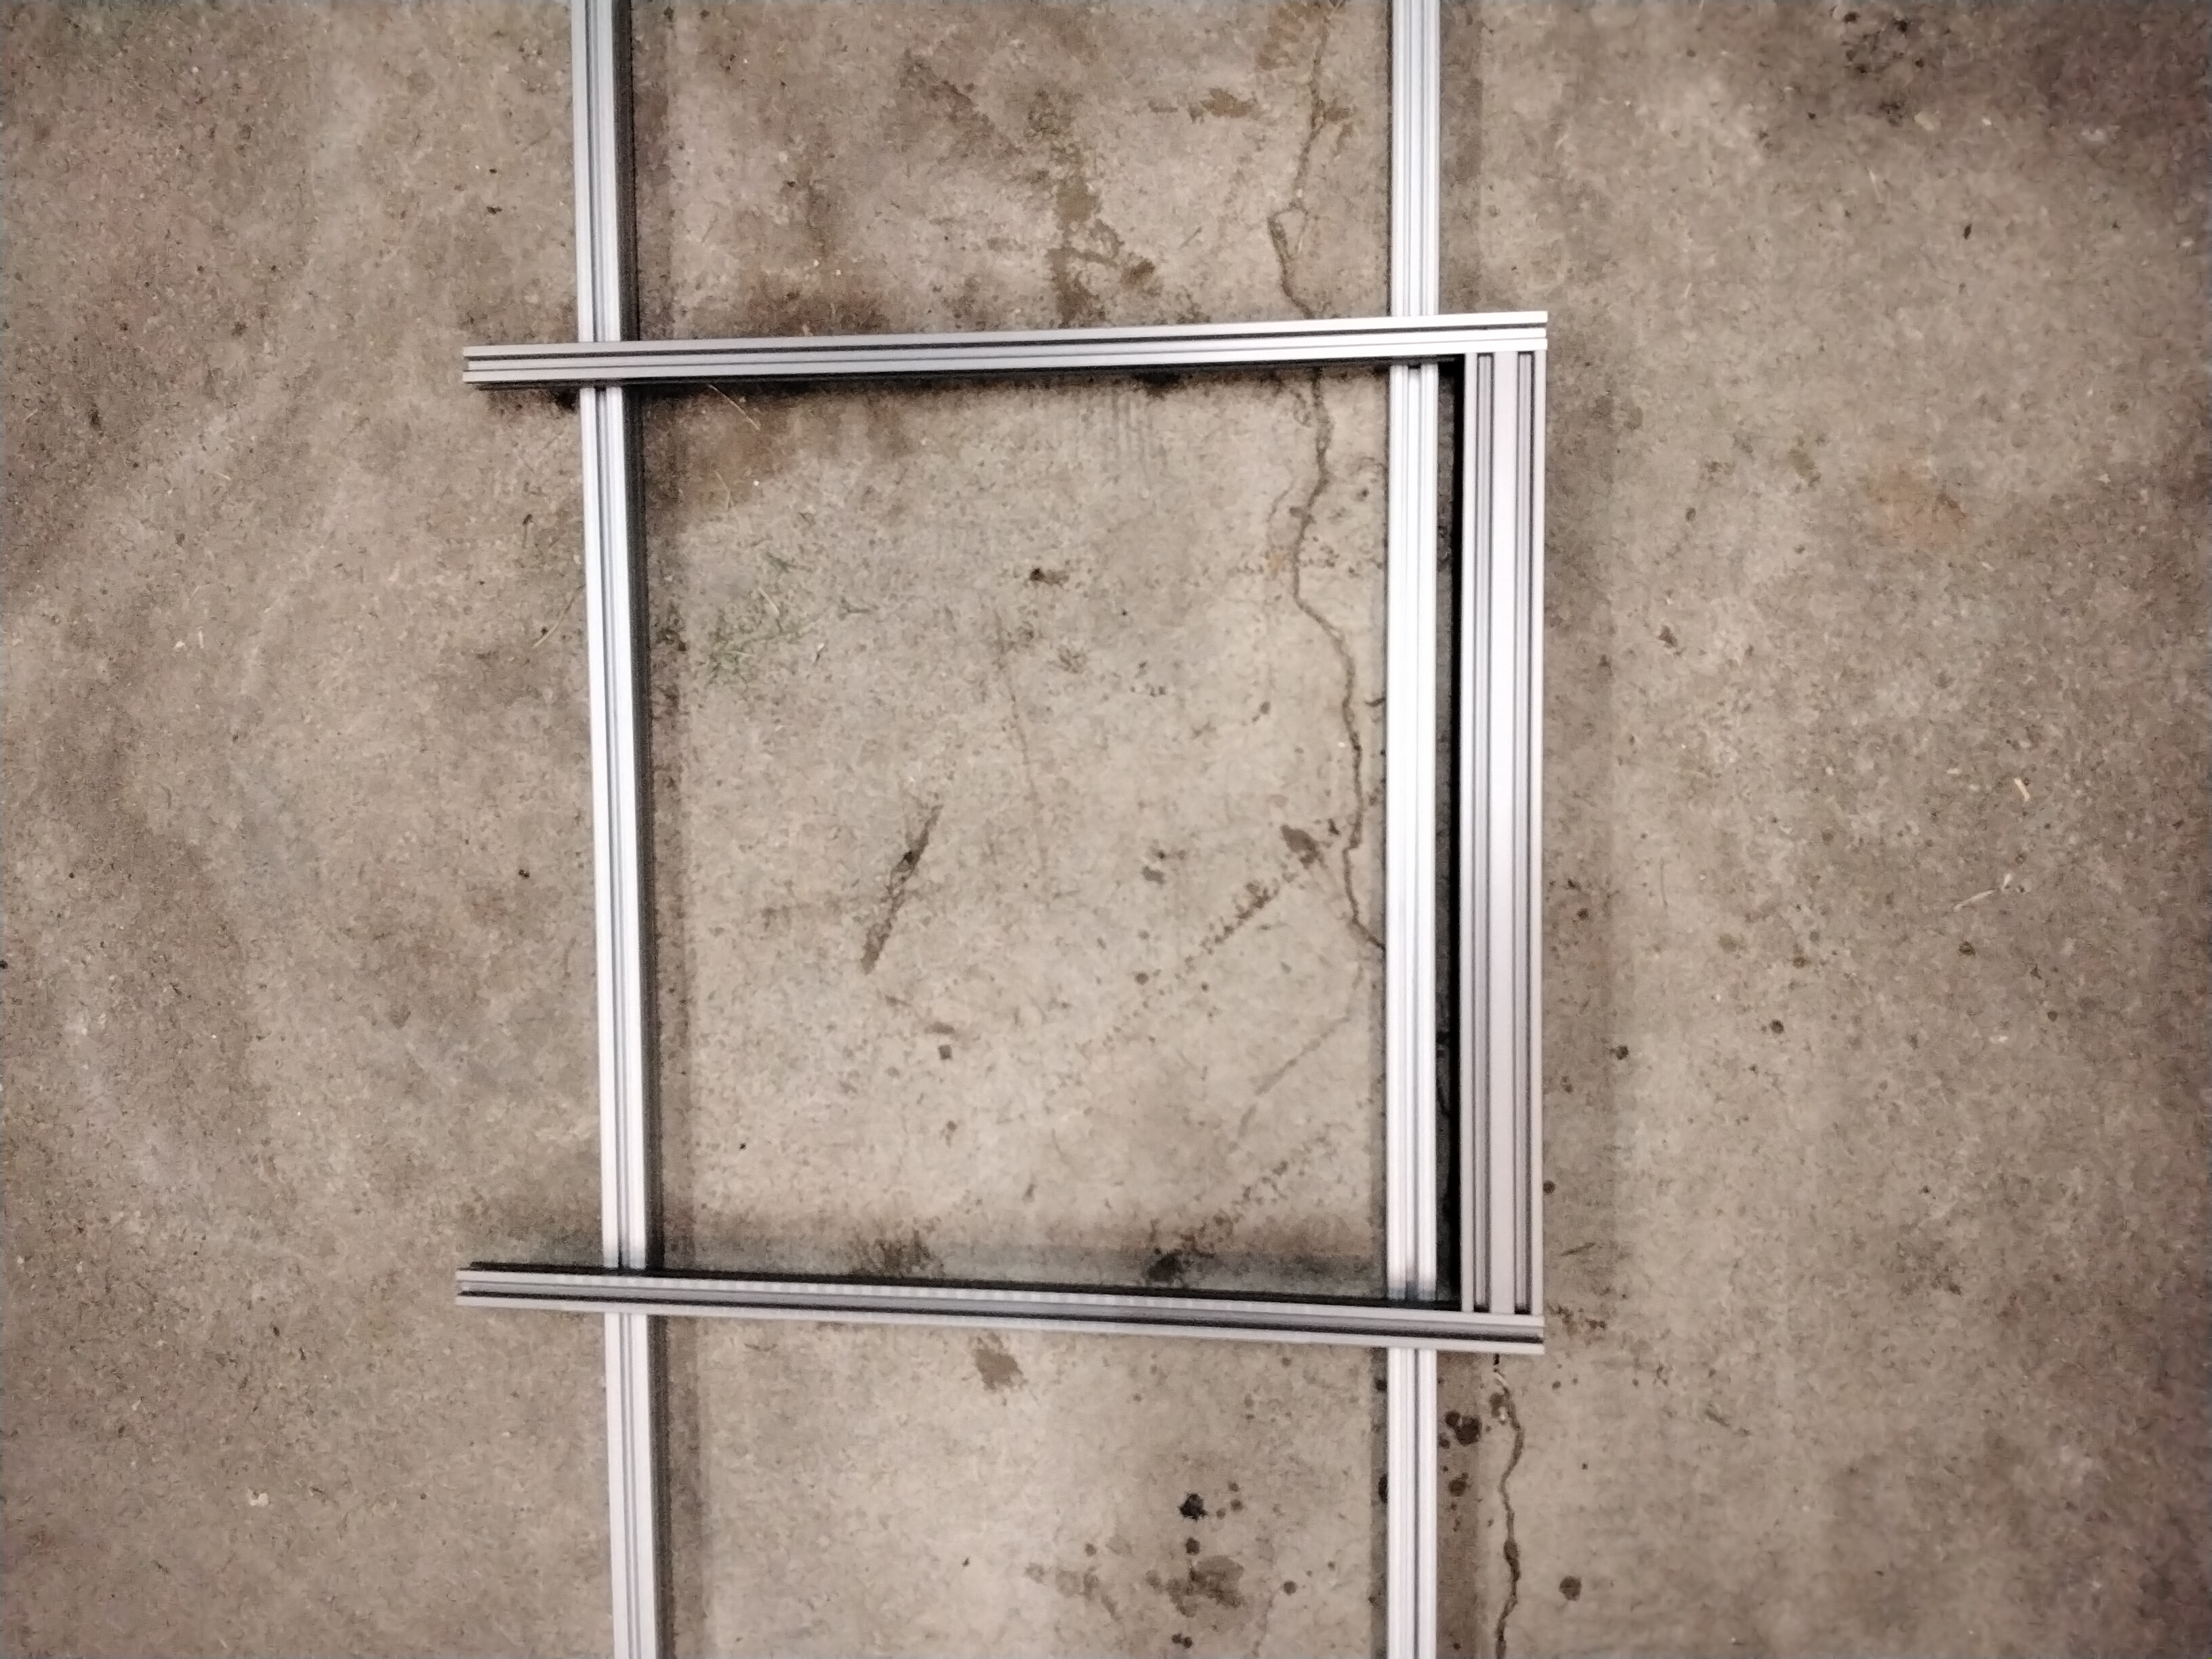
I put it together like a welder - corners set up, three points for squareness, 1-2-3 blocks, etc.  I wanted this one to be more solid than my 3D printer.


Once it was assembled, I had to finish the software side of it.  Being a proponent of open source, I needed something that would run on Linux, and was recommended specifically for laser cutters.  I ended up choosing LightBurn.


Make sure your user is a member of the "dialout" group so LightBurn can talk to your USB, if you are going to hook the computer directly to your cutter.  I don't keep the tools and the computers close together (smoke in the house kind of thing), so I opted to just create a "laser cutter" based on GRBL that had 400mmx400mm (15.7"x15.7" is the manufacturer-claimed cutting area) inside of LightBurn.  The Smernit has an SD card, so I can export G-code, copy it to the SD card, and walk it out to the "shop" for cutting.  My settings :

Type :GBRL
How to Connect it :Serial/USB
Name :Smernit 10 Watt (Make your own up)
X Axis Length :400 (mm)
Y Axis Length :400 (mm)
Origin :Front Left (determined by finding where the limit switches are)
Auto "Home" On StartYes (really, doesn't matter, I'm not connecting it)

I could not get it to find the laser cutter, hence I had to create it manually.

Anyway, I ran a few tests on the excess panels used in the tool chest build (as of this writing, it hasn't been published) using my SilverHawk logo (registered trademark, folks) SVG until I had the power and speed right.


My next objective was to engrave on a hot cocoa mug (I had ordered the rotary attachment from another device).  I grabbed a mug from the dollar store, and later realized that rotating a cone on one of these will eventually cause whatever is sitting on it to slowly work it's way off, completely messing up the engraving.

So, I built a quick little bearing to keep it aligned while the conical shape could be turned.  First, the drawing (on my tablet):

Then, I used an old machinists trick to make washers the size of my bearing.  I drilled three sheets of shim (the thin stock is sandwiched between two boards to allow you to grip, and to prevent rip) to the inner bore of the bearing, then put the shaft into the collet between the same boards.  This allowed the outside to be turned to diameter.

Then, using a small piece of aluminum angle, I drilled holes for two slots, and one hole for the bearing shaft.  I filed it all smooth, and then assembled it.


This allowed the cocoa mug to rest on the rollers, and to prevent it from slipping off.

Only then did I realize the rotary attachment used a 4-pin plug, but the laser engraver used a 6-pin one.  So, now I wait for materials to build an adapter.