

I visited some family, and learned that a little old Black and Decker belt/disc sander was having some problems. The disc was completely removed, amid the questions of the family member on what to do. The disc was wobbling badly, and kept coming loose. Unfortunately, I didn't get a picture of the motor shaft - it's in rough shape, and I don't know if I'd be able to fix that without pulling the entire motor apart.
The shaft had a flat on it (not a normal "keyway" for pulleys or gears), and the disc used a set screw to bind to the shaft. Unfortunately, where the set screw bound to the shaft, the shaft had a worn groove in it. It will still work.
The wobble problem came because the disc had kept coming loose on the shaft, and it wore the disc down and made the bore for the disc un-round (anti-round? non-round? out of round?).
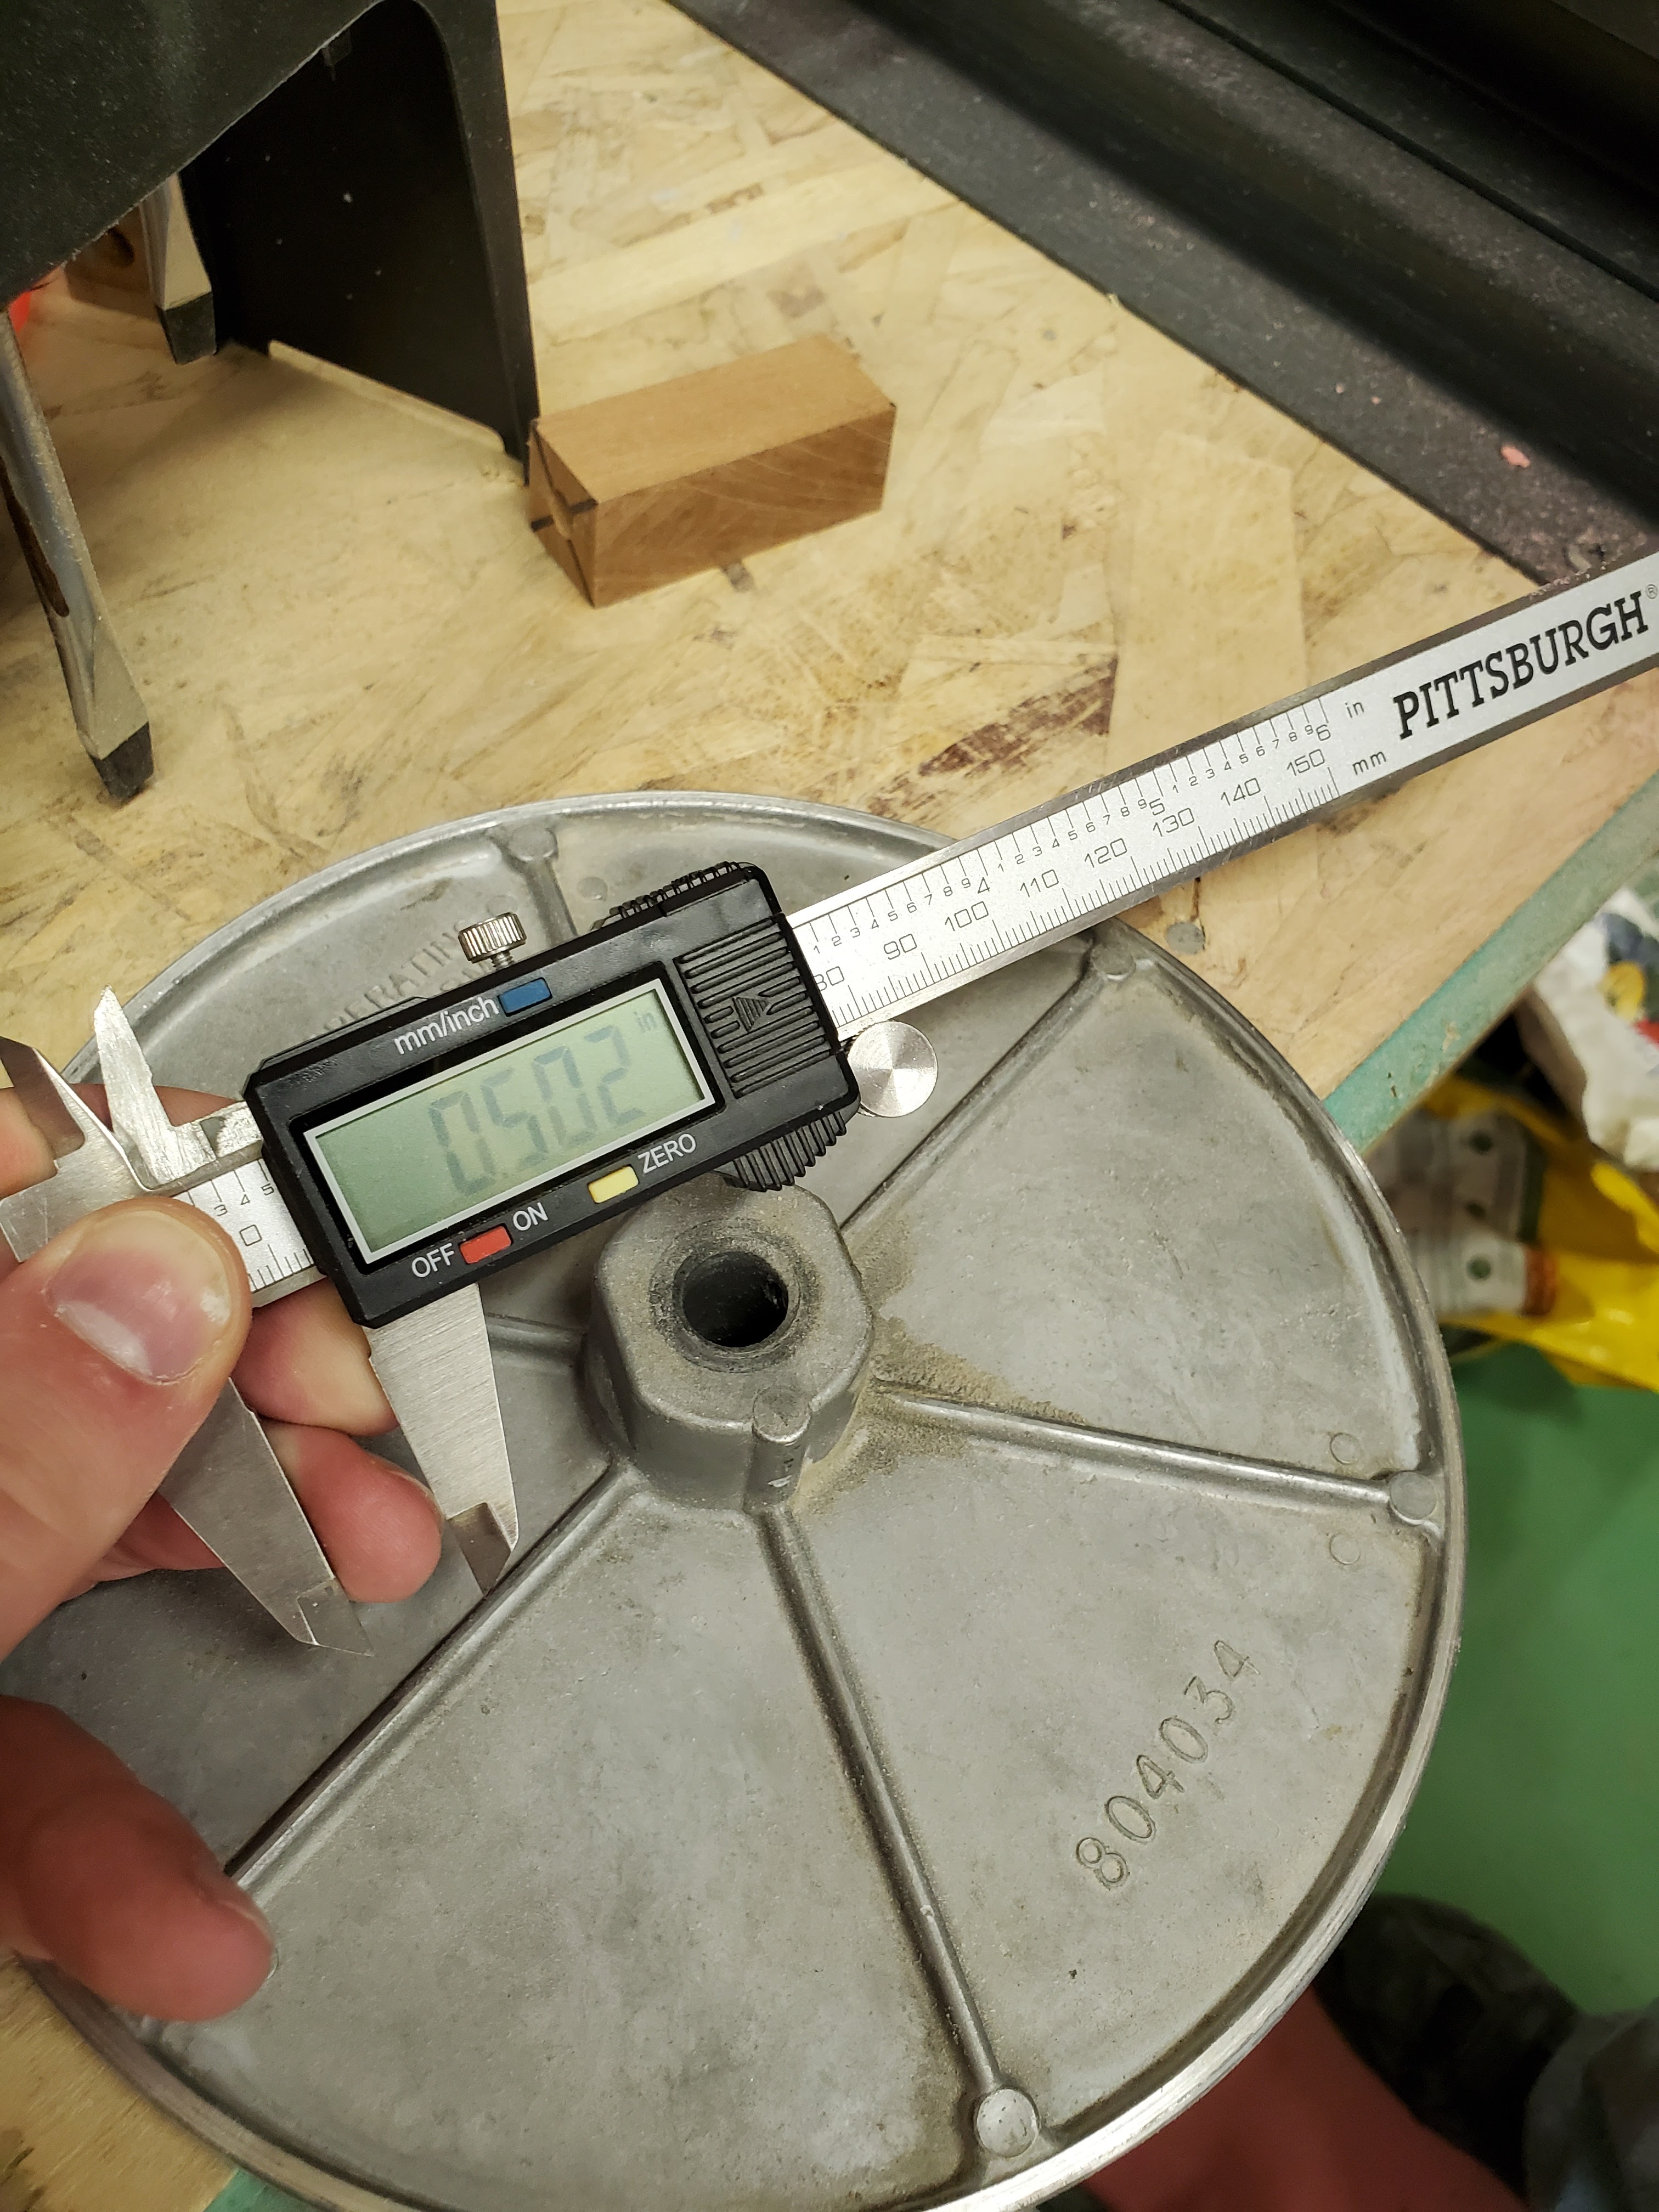
That's where I came in. I measured (as well as I could with the Harbor Freight digital caliper) that the shaft was 0.504". The inside bore was well worn on the inside.
I took the disc home, and chucked it up four different ways until I had something that I thought was acceptable. My 8" chuck failed (the disc is 8", but the jaws would not clear the lathe bed because of how far they stuck out). My 3" chuck couldn't get a solid grip on the backside boss where the set screw was. My 5" self-centering couldn't grab where I wanted to, so I ended up with my 6" independent 4 jaw chuck.


The face was 0.050" out of square. For a wood worker, that's got to be pretty dang good, but I am neither pretty nor good. I have the danged part down well, though.
I faced it off and bored it out in one operation. This should guarantee that the bore is perpendicular to the face.

The bore was brought to 0.750" (a little goof, and I ended up at 0.757", but hey, I'm making the matching sleeve, too). At this point, it could be removed from the chuck - we were done with this part.
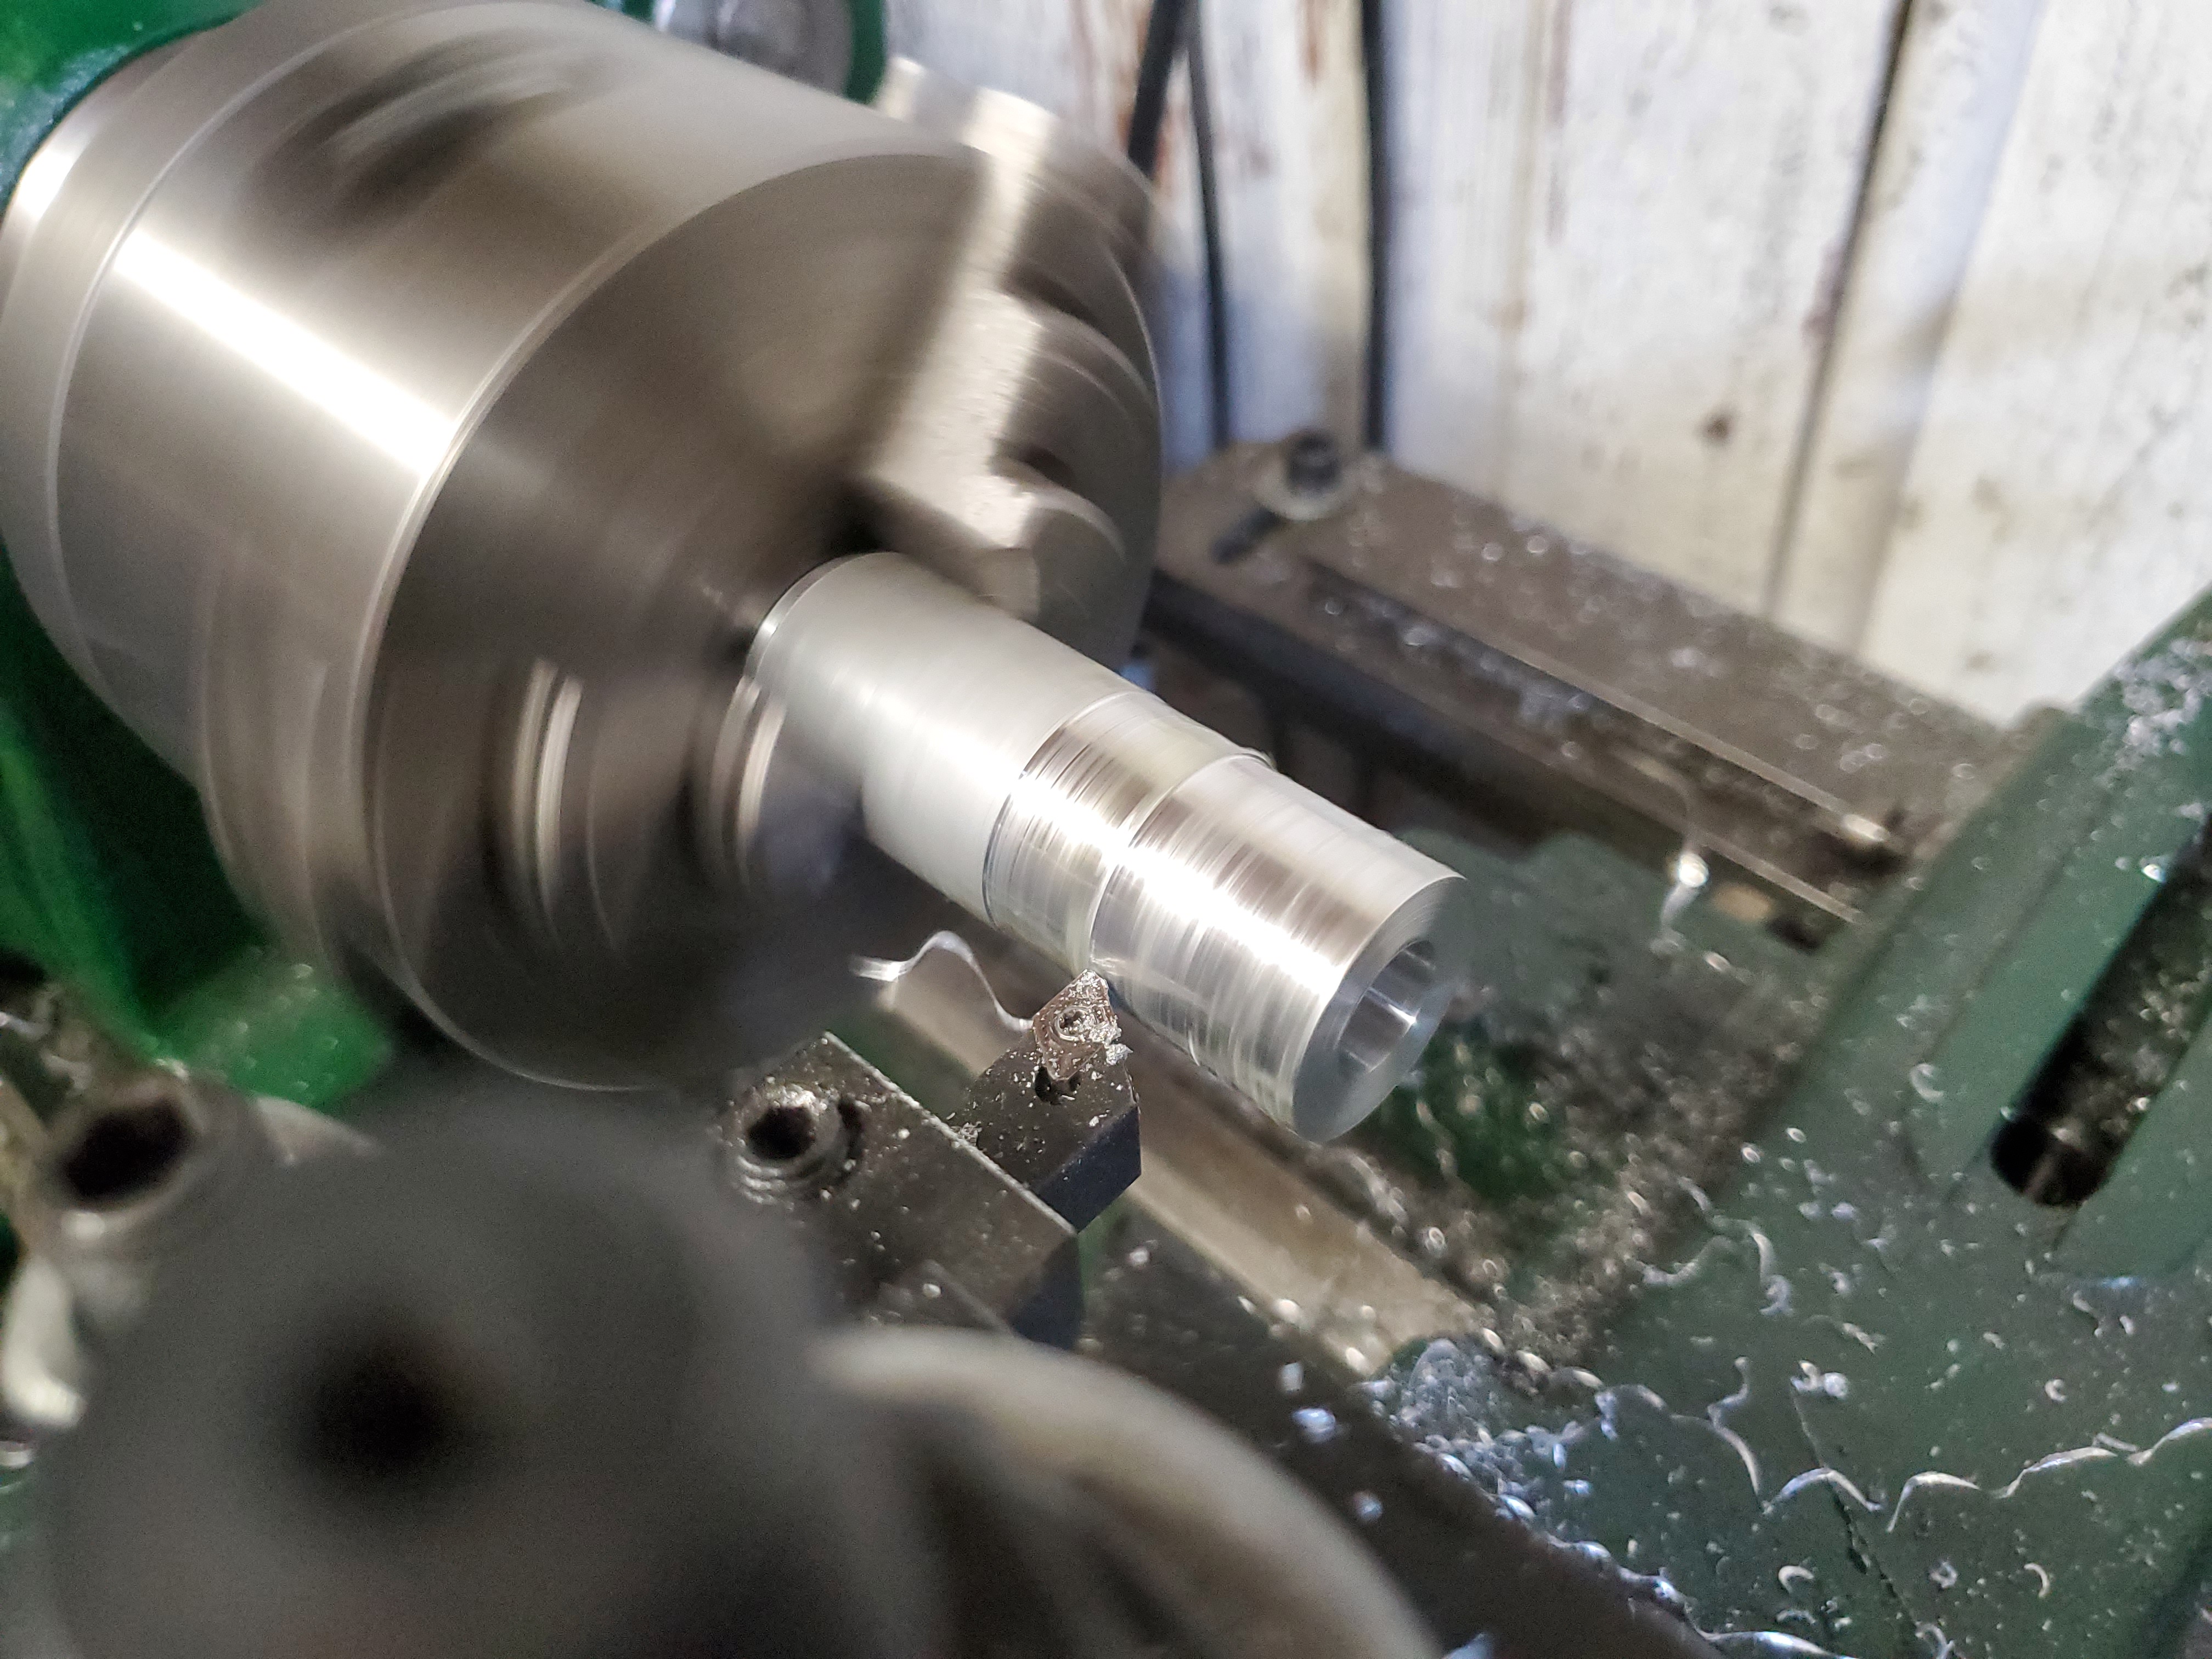
Next was to begin working on the sleeve. I had a drop piece of aluminum from a previous job that was 1" in diameter (ugh! that's a lot of waste material!), and chucked it up in the small 3" 3-jaw chuck.
The first operation when working with an internal and an external is to bore it. This is a proper sequence, because materials don't compress as easily when cutting on the outside - thin walls should have the last operation as the outside. I used a 7/16 drill bit to get large enough for a boring bar.
Then I used the boring bar to clean it out.

After ward, I turned down the outside to 0.752" (yes, 0.005" undersized - I was actually aiming for 0.001" over-sized, but didn't take into account the part cooling down to a different size).

I marked where the set screw hole will go (to be later drilled), and parted it off. You can see in the next picture that I still have the large burr on the parted end - I need to clean that out and put a chamfer on that. I also need to drill the cross hole through one side for the set screw to pass through it.

This fits fairly well, diameter-wise, so I am pleased. I cross-drilled the sleeve, and tapped the hole with it in position (so that the threads match from the full disc), and when I flipped it over.... it was too long. (Better than too short, right?)
I measured how proud of the surface it was (0.081"), and then used the collett attachment on the lathe. I set the micrometer attachment on the lathe as well, and then faced off the 0.085" (I wanted it to be slightly under the surface - it's better to be under than over). While there, I chamferred the front-side of the face cut, and then put it all back together :


It can now go home and be re-installed. I packaged it up in the gallon zip-lock baggie just so that it doesn't grease up the carpet in the vehicle as it travels.
No comments:
Post a Comment