Wednesday, August 3, 2022

Diamond VC500 Video Capture in Linux

 I wanted to do some video capture, and a local place had a Diamond VC500.  I ordered one off of Amazon, and it flat out didn't work.  The Windows 10 installation just gave me a black screen all the time.  Troubleshooting failed, even though I hooked the same old camcorder device up to an RCA TV and it displayed fine there, so I new it was device-specific.  I hooked it up in Linux, and it told me there was no signal on the composite using the v4l command to check it:

    v4l2-ctl --get-fmt-video -d /dev/video0 --all

Amazon's return policy was a life saver.  I had them send me a replacement.

 I tried WIndows 10 again (because that was the native driver supported by the company and... it just gave me a black screen again, no matter what I tried to do.  It just wouldn't work.

Since Linux had given me the no hsync error on the previous device, I decided to try that one and see if it gave me anything different.  I booted into Linux, and ran the command again.  I was a little bit shocked to see the "Video input : 0 (Composite1: ok)" message glaring me in the face :

    
    ┌──(username@hostname)-[~]
    └─$ v4l2-ctl --get-fmt-video -d /dev/video0 --all         
    Driver Info:
            Driver name      : cx231xx
            Card type        : Geniatech OTG102
            Bus info         : usb-0000:01:00.0-4
            Driver version   : 5.18.5
            Capabilities     : 0x85200011
                    Video Capture
                    VBI Capture
                    Read/Write
                    Streaming
                    Extended Pix Format
                    Device Capabilities
            Device Caps      : 0x05200001
                    Video Capture
                    Read/Write
                    Streaming
                    Extended Pix Format
    Priority: 2
    Video input : 0 (Composite1: ok)
    Video Standard = 0x00001000
            NTSC-M
    Format Video Capture:
            Width/Height      : 720/480
            Pixel Format      : 'YUYV' (YUYV 4:2:2)
            Field             : Interlaced
            Bytes per Line    : 1440
            Size Image        : 691200
            Colorspace        : SMPTE 170M
            Transfer Function : Default (maps to Rec. 709)
            YCbCr/HSV Encoding: Default (maps to ITU-R 601)
            Quantization      : Default (maps to Limited Range)
            Flags             : 
    Crop Capability Video Capture:
            Bounds      : Left 0, Top 0, Width 720, Height 480
            Default     : Left 0, Top 0, Width 720, Height 480
            Pixel Aspect: 11/10
    Selection Video Capture: crop_default, Left 0, Top 0, Width 720, Height 480, Flags: 
    Selection Video Capture: crop_bounds, Left 0, Top 0, Width 720, Height 480, Flags: 
    Streaming Parameters Video Capture:
            Frames per second: 29.970 (30000/1001)
            Read buffers     : 2
    
    User Controls
    
                         brightness 0x00980900 (int)    : min=0 max=255 step=1 default=128 value=128 flags=slider
                           contrast 0x00980901 (int)    : min=0 max=127 step=1 default=64 value=64 flags=slider
                         saturation 0x00980902 (int)    : min=0 max=127 step=1 default=64 value=64 flags=slider
                                hue 0x00980903 (int)    : min=-128 max=127 step=1 default=0 value=0 flags=slider
                             volume 0x00980905 (int)    : min=0 max=65535 step=655 default=60928 value=60928 flags=slider
                            balance 0x00980906 (int)    : min=0 max=65535 step=655 default=32768 value=32768 flags=slider
                               bass 0x00980907 (int)    : min=0 max=65535 step=655 default=32768 value=32768 flags=slider
                             treble 0x00980908 (int)    : min=0 max=65535 step=655 default=32768 value=32768 flags=slider
                               mute 0x00980909 (bool)   : default=0 value=0
                                                                                                                                                                     
    ┌──(username@hostname)-[~]
    └─$
    

 So I launched VLC to see if I could see it.  It gave me video, but it wasn't the greatest :

I've never  captured using VLC, so this would be a learning curve.  Since it only worked in Linux, it was my only option.  I've got to figure this one out.  First, let's find the devices we need to use with two commands, "sudo dmesg|grep cx231xx|grep 'Registered video device'" and "arecord -l" :

    ┌──(username@hostname)-[~]
    └─$ sudo dmesg|grep cx231xx|grep 'Registered video device'
    [ 221.933201] cx231xx 1-4:1.1: Registered video device video0 [v4l2]
    
    ┌──(username@hostname)-[~]
    └─$ arecord -l **** List of CAPTURE Hardware Devices **** card 1: Generic [HD-Audio Generic], device 0: ALC1220 Analog [ALC1220 Analog] Subdevices: 1/1 Subdevice #0: subdevice #0 card 1: Generic [HD-Audio Generic], device 2: ALC1220 Alt Analog [ALC1220 Alt Analog] Subdevices: 1/1 Subdevice #0: subdevice #0 card 2: Cx231xxAudio [Cx231xx Audio], device 0: Cx231xx Audio [Conexant cx231xx Capture] Subdevices: 0/1 Subdevice #0: subdevice #0 ┌──(username@hostname)-[~] └─$

With those devices known (video0 and card 2 are identifying the cx231xx / OTG102 / Diamond VC500 video captuire device), we can configure VLC for a capture.  Use "Video camera" for the capture mode, and set the device to match (it should have the same thing from the dmesg output above, with a /dev/ added to the front of it).  The audio is a little more difficult - the arecord -l showed the cx231xx device on "card 2".  So, in the audio device name, find the hw:2,0 card.  Set the video standard to an appropriate setting (I'm doing this inside the US, so I went with "NTSC M.  You can click on "play" to test it.  Once you are good with the settings, do it all over, and instead of clicking play, click the little arrow beside it and click on the "Convert" option.

Unfortunately, it absolutely failed.  It [sort of] had a video signal.  This Diamond VC500 really can't function well.  Perhaps it is a USB interface issue, but I'm kind of giving up (I used a USB 3.0 interface, maybe that capable was bad).

So, I'm now trying an HDMI converter and an HDMI capture device.  The converter picks up the signal well enough, so now it's a matter of checking the capture device when it gets here.

If that doesn't pop open a convert window, close VLC and re-start it, then get to the convert option again, it should pop open the convert window.  Click on "browse", and select a filename.  Change the profile to something with a 720x480, since that is what the v4l2-ctl command revealed as resolution for this card above.  Then just click on start, and then press play on your VCR or camcorder.

When done, click the stop button on the VCR and then the stop button in VLC.  You should now be able to find your file and play it like any other media file!

Saturday, July 2, 2022

Pen Makers Trophy Shelf

 I have some treasured pens, both from when I made some, and also from some family members and dear friends.  They've sat in a pile on my desk for some time.  As I started reclaiming my desk space, I had to shift the pens from a pile onto a display rack of some sort.

I ordered some acrylic sheets and a flat bar of brass.  The acrylic sheet was 1/4" thick, and 12" x 24".  I marked off some dimensions that looked good to me (yes, I put a story board on the acrylic protective layer).  With a sheet 24" long, I could theoretically put 23 holes across... but the sheet wasn't quite 24" long - it was 23 3/4" long.  So, my design went from 23 holes across, to 22 holes across (oh, bummer).

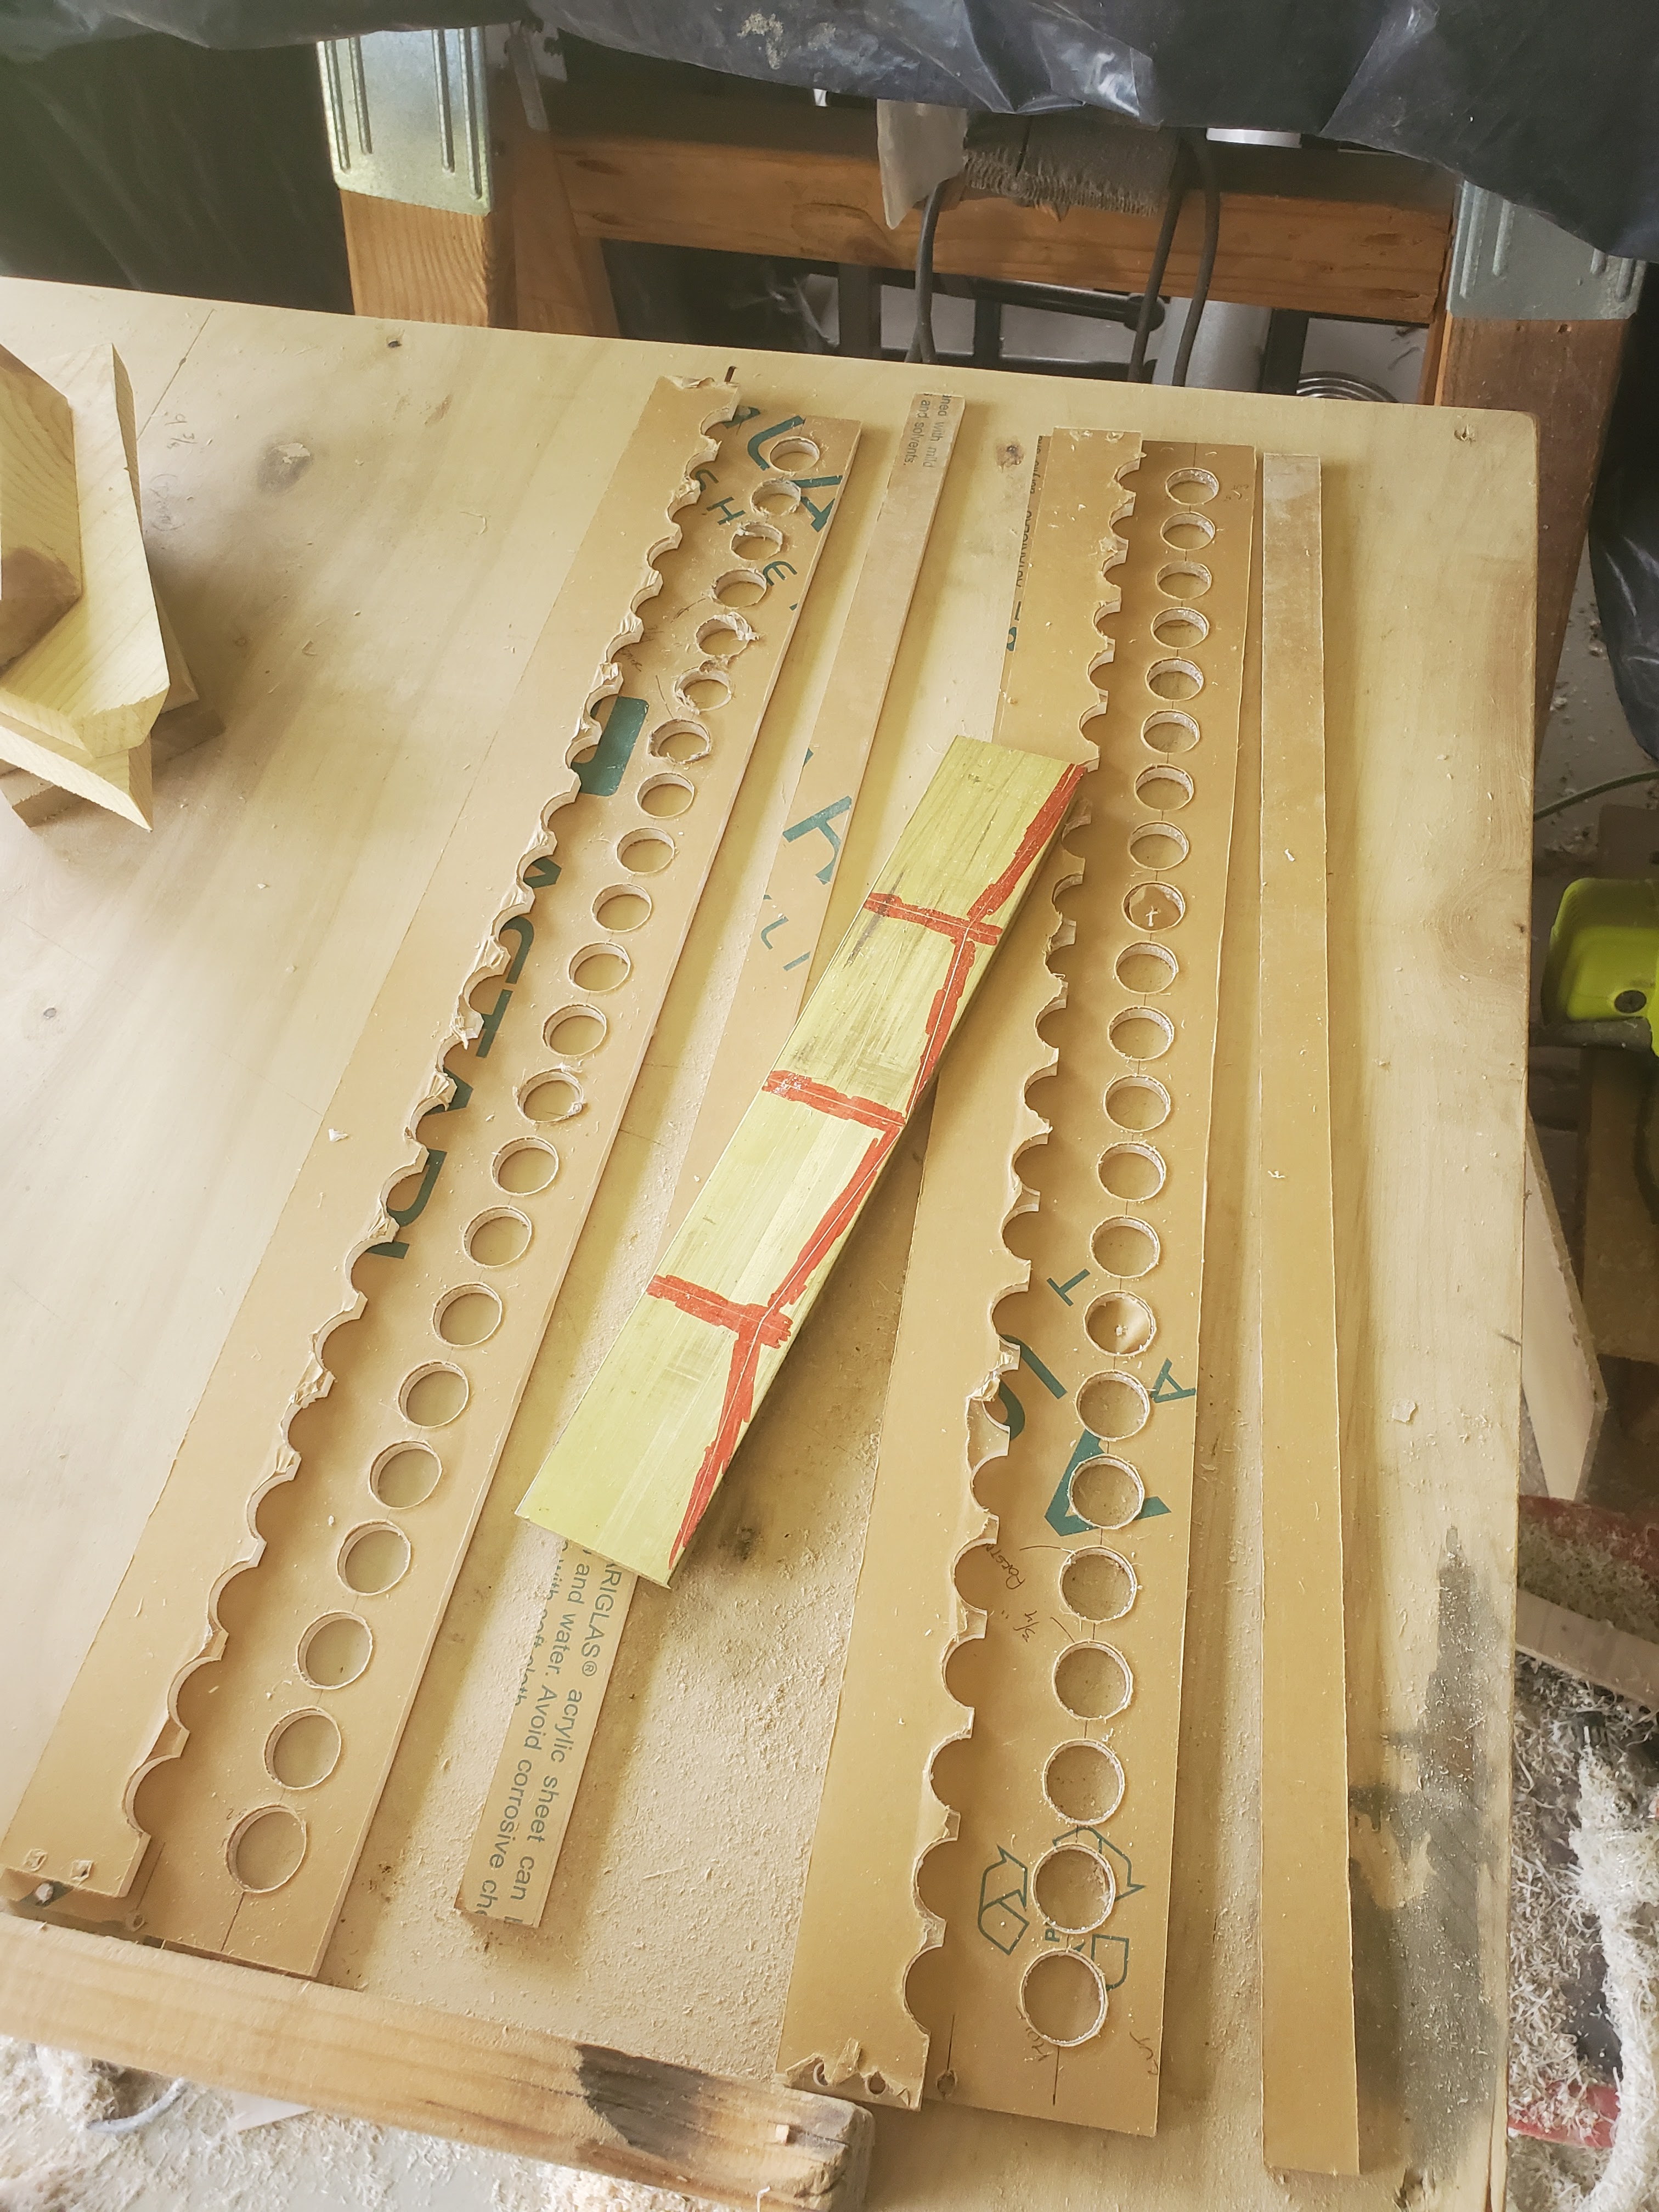
I drilled three rows of holes through the acrylic every 1" using a 3/4" forstner bit.  That was 66 holes., if you do the math.

While there, I also drilled clearance holes through the same acrylic sheet to attach brass flat stock for shelf risers (separating a bottom shelf from a top shelf - and now that I have mentioned top shelf, I feel the need to go watch some hockey).  Once the drilling was complete, I fed the sheets through the table saw.

I absolutely took my time on this - and you should, too.  The last time I fed plastic through the table saw, it grabbed to the blade and was hurled up and back at me so quickly that it could have been fatal if not for the eye protection.  TAKE YOUR TIME, and use push sticks in constant contact at all times!

Three rows of holes equates to two shelves.  As you look at the above picture, you'll see one row of holes was cut lengthwise.  The bottom shelf on each one sits farther away from the wall with a full hole, while the top shelf (again, I need more hockey) is only a half hole.  This allows a pen to lean against the top shelf (oh, puck!), and be easily removable when I want to use one.

With the holes through the bottom, I needed to glue the last thin strips onto the bottom of the bottom so that pens didn't fall through (it was a bit of a duh moment, and I didn't want to order a new sheet - I had two 3/4" strips left over from slicing the shelves out of the acrylic, and that would be perfect).

I thought I'd use a heat gun before anything else to "clean up" the saw and drill edges - to get them a little more clear and a little more professional. You know, the usual thoughts about burning plastics when thermoforming such as being quick, and don't get it too hot or the acrylic might change color (e.g. it could burn and become more opaque if you go too long).  I ran some off cuts through the process.


While it worked a little bit, it did not get the edges very clear.  I had to fully remove the wrap, or the edge would bubble up and get some discoloration.  Anyway, with the little result for a lot of effort and chancing really hosing it up, I opted against heat gunning the pieces.

So I could glue the thin bottom strips to the bottom shelf.  The glue I used was super glue - cyanoacrylate - notice the "acryl" in both of the technical terms.  Be careful as you apply it to acrylic - it quickly adheres and if you get it in the wrong place.... well, it won't clean up.

Earlier, when story boarding, I also marked the brass flat bar for saw cuts.  I fed these through the bandsaw. 

I want to see how this is going to look.  Time for a quick mock up.

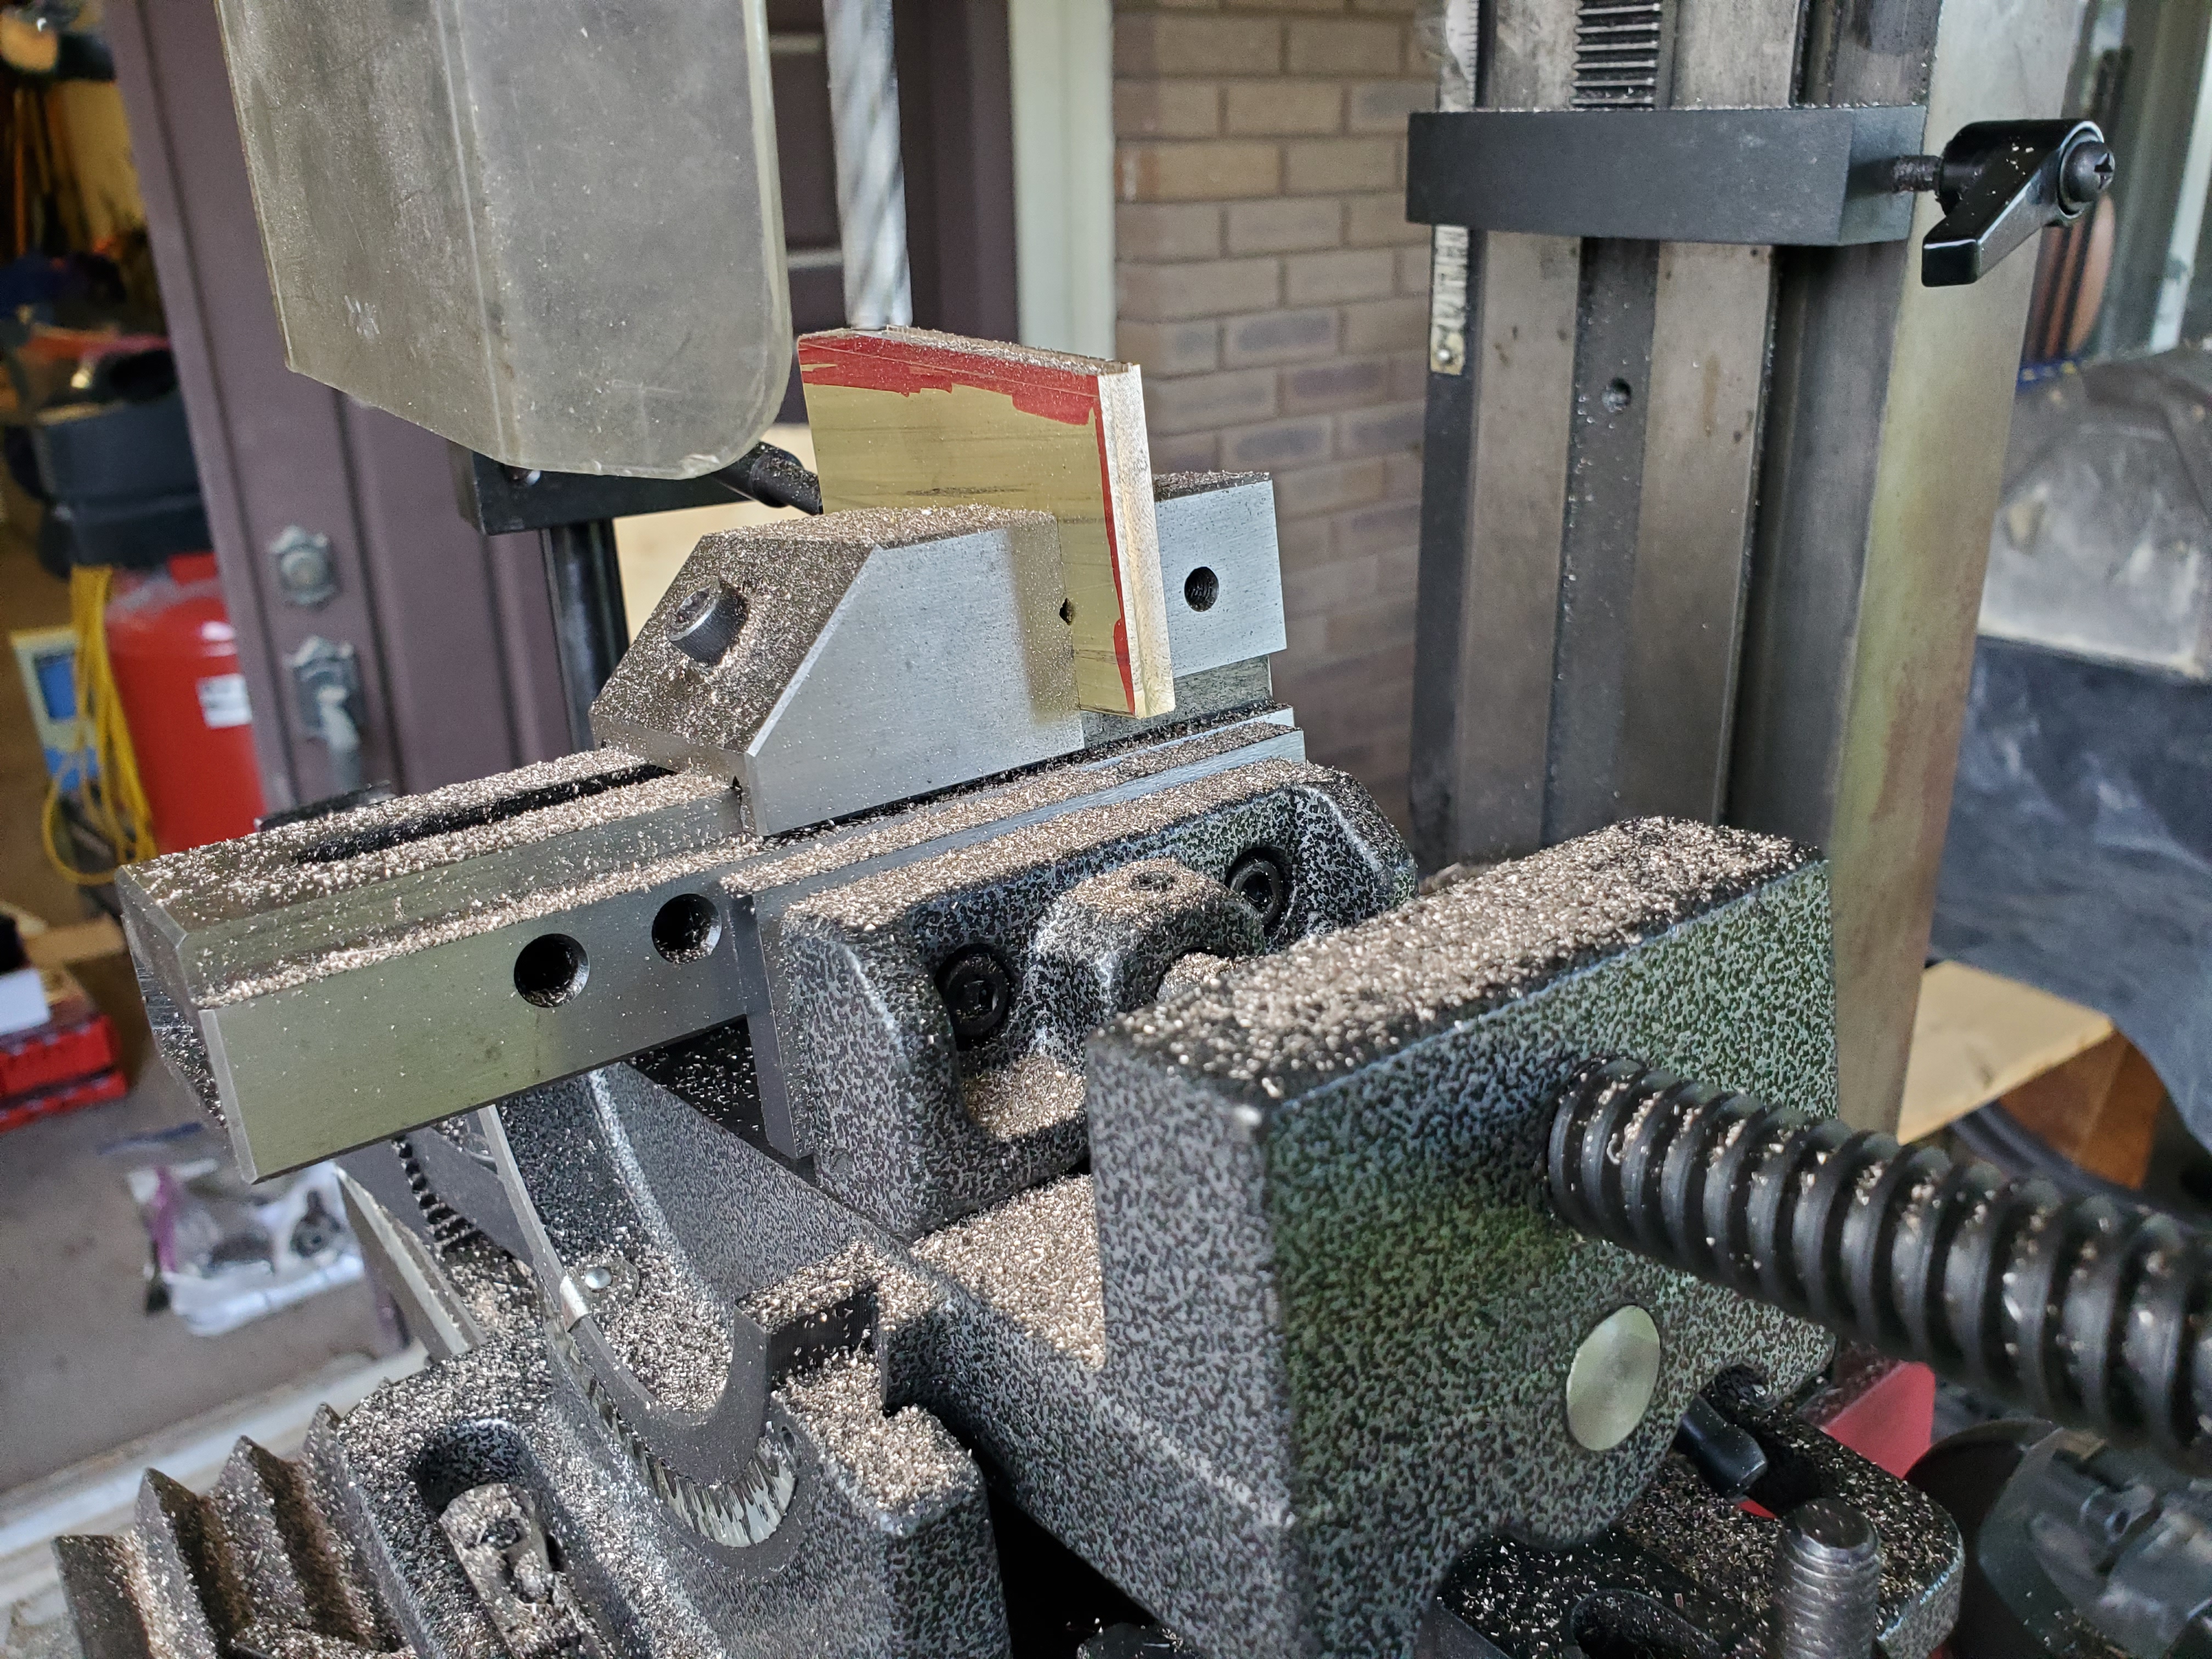
While it looks good from here, those are still bandsaw cuts.  They are rough, and not something I'd be willing to display yet, let alone be a back drop for other displayed items.  I need to clean it up.  Enter the milling machine.


Yeah, I had to see it set up.  It was time to sand in order to remove any mill scale and apprentice marks (e.g. when you drop it and ding it up).

While here, I took the time to sand the rough edges of acrylic, and I hit them with a torch.  Remember when my impatience got to me?  Sanding the acrylic saw/drill surfaces to 2000 grit and then hitting with a torch actually improved those edges.


Slap some pens on that just to see....


The shelves look fantastic, and have definitely cleared up my desk surface a bit.  I am sending one of the two shelves that was built to the person who makes pens as his hobby.  I might as well share the joy.

Wednesday, June 22, 2022

The Pen is Mightier than the Word

 As far as creative titles go, I've much had better.  I know.  I'll apologize.

Still, this was a basic "pen kit" build.  There's nothing fancy about it.  I wanted something woodsy, minimalist, and also stylish.  That's an eclectic mishmash of categories thrown together.  I like the bulky, hefty feel of the stainless steel, solid, gentlemens' pens (I threw away the brass tube and just machined a complete tube out of stainless steel).  They are awesome.

But I was in the mood for something more slim-line like.  I also love the thin pens that are light (and often too mobile in the form of theft from someone else that wants it).  So, I went with the Saxa EDC gunmetal pen and pencil kits.  They looked about right for the slim-line (with a bit more style).

For the color, I chose a stabilized, dyed, green box elder burl blank.  This is a real wood that has been dyed and treated under pressure with stabilization chemicals to prevent it from exploding.  [... ominous foreboding ...]

With the parts in hand, I went to work.  The blanks were cut to length, then drilled with a 7mm hole (like the instructions say to).  I epoxied the brass tubes into the freshly drilled blanks and let them cure.  They were then barrel trimmed to get them ready for the lathe.


 On the lathe, I whipped through my first one in short order.  This felt like a walk in the park.  [... more ominous foreboding ...]

The second one... not so much.  Once on the lathe, as I was turning it down, my heart skipped a beat when a "snap" rattled through my bones and my ears picked up the echo of larger pieces of wood hitting the wall and then the floor.

When I stopped the lathe to get a better picture of how badly the tool dug in, catching, and causing the blank to shatter, I had a thought.  Incidentally, this is also when I decided to record this because I was going to try and re-assemble the pieces.  (Usually, you just cut the broken blank off the tube, clean the tube up, and then start with another blank - but I had only ordered two blanks, enough for two pens, and I had no spares.)

On the left above is the blank/barrel that was completed quickly and effortlessly.  On the right was the snapped one (you can see the brass sneaking through it in the middle, slightly toward the top).

In the middle was a small sample of mica powder used to color (or dye) epoxy resins for crafts.  I'd purchased this to work on the table, back when trying to get a good selection for the girls to choose the color from.  Anyhow, I grabbed the closest color I could find (which doesn't look close here because of the reflection on the container, but honestly, I struggled to find the fix later).

I mixed up some 5-minute, clear epoxy (same stuff I glued the blanks to the barrel with), and mixed in a small sample of the mica powder.


Once it had set up (I gave it an hour, just to be sure, even though a full cure is 24 hours with this stuff), I threw it back on the lathe and carefully finished turning it down.  Finish is the standard sanding (lots of fine sanding to get to a good finish), and then applying superglue as the gloss coat.  I usually keep the lathe running after it's applied and let it set up.  Then, I just use some furniture wax to give it the final polish.

I pulled the barrels in and quickly pressed them together.  I took the broken one (well, repaired one) outside just to see how bad it looked :


Not bad at all!  I don't think you'd ever know, unless you read this or I told you.

I really like these writing implements!

Monday, May 30, 2022

"Repair" of a Harbor Freight No. 33 Hand Plane

 I bought a hand plane back on the ol' table project from Harbor Freight.  While I could "manage", there are some issues with it.  The one that made it nearly impossible to use was one of the knurled nuts that adjusted the depth of cut on the blade.  I expect that someone made an adjustment on the parts for the threaded shafts from a 6x1.0mm thread to a 8x1.0mm thread (or the other direction - I can't be sure).

The one I bought had two 6x1.0mm threaded shafts, one 6x1.0mm knurled nut, and one 8x1.0mm knurled nut.

When I contacted Harbor Freight, they just said I'd have to buy a new one.  Bad customer service there (but that was an anomaly, possibly).  I set the tightness on the blade and muddled through the table project.  Not the greatest experience, but I coped.

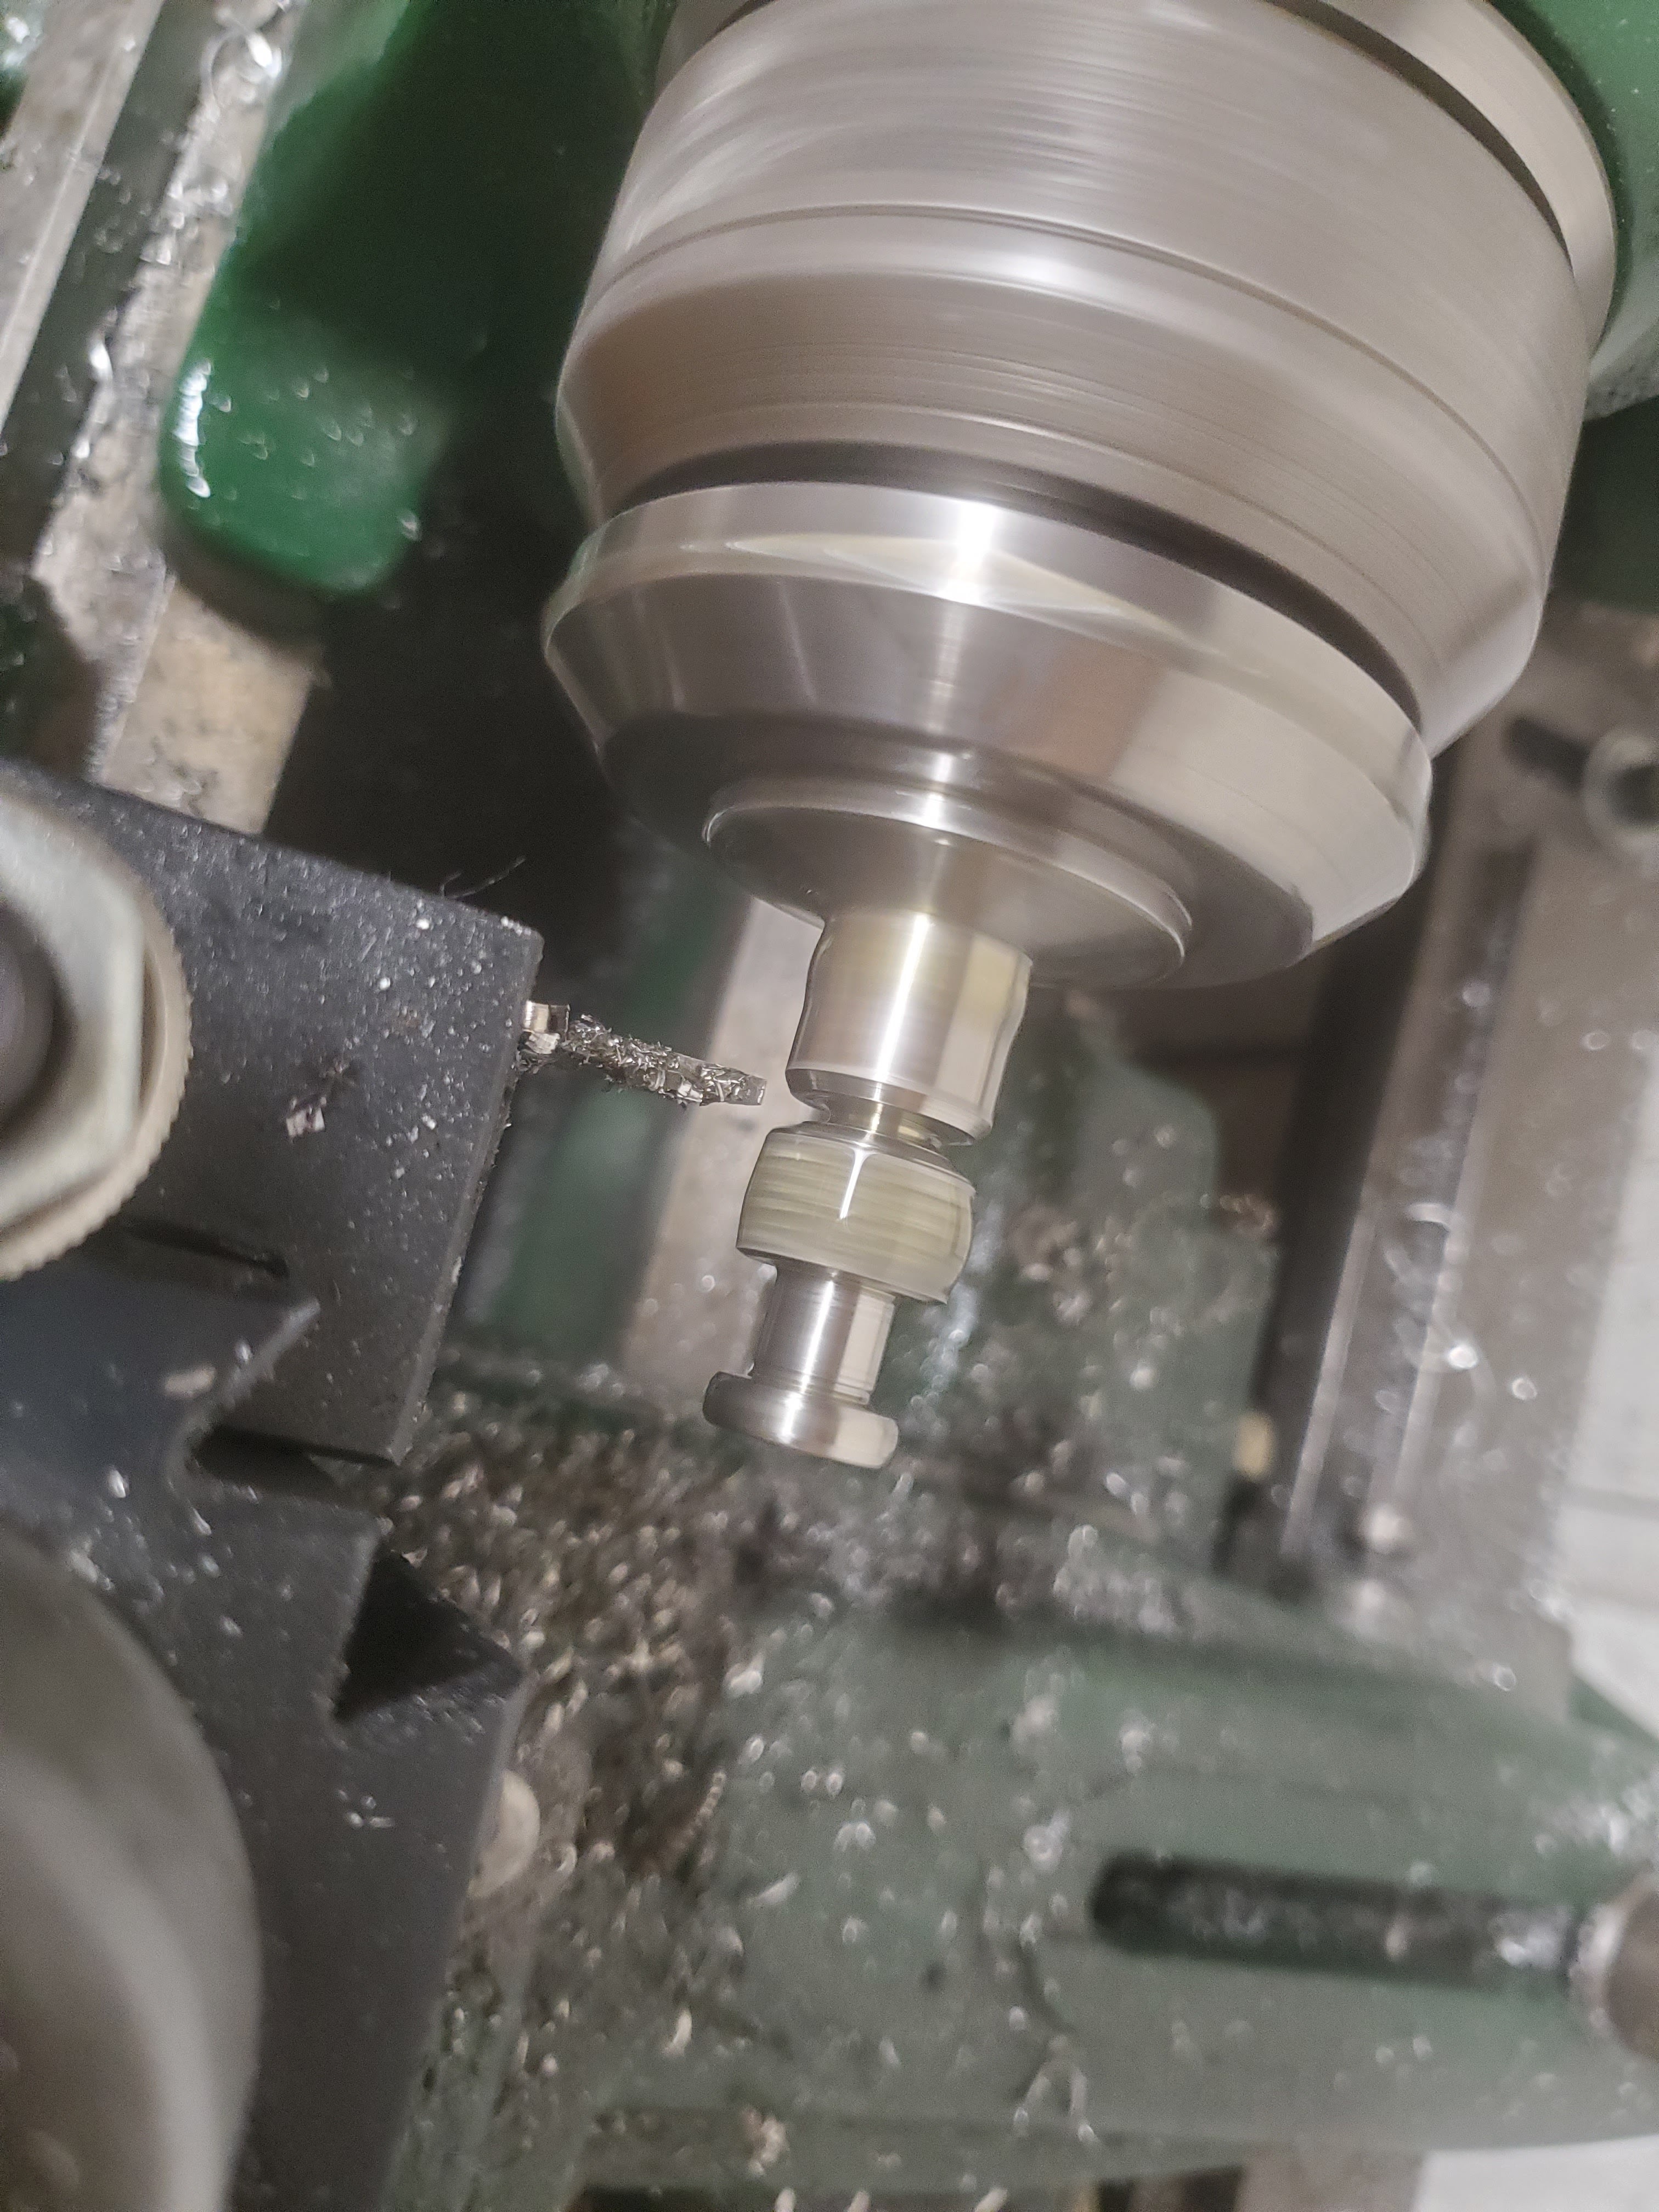
Well, I got tired of having that thing sitting around, so I took a few measurements, and made sure I had the 6x1.0mm tap on hand.  I rummaged through my collection of drops, and found a 5/8" stainless steel bar that I could use.  Should be fairly easy to whip through it (ominous foreboding), right?

The bar was chucked into a 5C collet, and faced off.  Then, I drilled it with a #6 drill bit, which is 0.204" or (5.18mm, since this is a metric part).  As an FYI, a 5.2mm drill bit is the right size to tap aluminum.  I was even smaller, so I purely thought I could get perfect threads out of this.  I commenced tapping.

At some point, you cut your losses and give up on tapping this stupid part all the way through.  That's when I found the pre-existing part was NOT tapped all the way through, either.  When I measured to the threads, I found it was about a half inch or 12mm of thread.  I made the decision that I would stop trying to run threads at this stage, and drill for clearance later (after it was removed from the lathe so I could actually get to the back side of the hole), and then I'd hand-tap the rest of the way.

I moved on to the next step - knurling. I also took the time to do some knurling.  This was my first chance at using the scissor knurling tools, instead of the pressure knurling tools.  If you think your knurling is impossible, and you use the pressure knurling tools, just stop what you are doing and buy a scissor knurling tool.  Just do it.  You can thank me later.  Anyway, the knurl came out way better than any knurling I've ever done.

So, I finished the bosses and other dimensions.  The stainless sure is going to look good.

I parted it off.

I drilled out the back side until I had about 3/8" of thread meat left (that's 8mm, this is a metric part).  I then went outside and manually tapped this thing for another hour and a half.  This stainless is brutal!  But, I got it done.

I had to give it a fitness test, and yes, this is going to work.  I might need to do some more filing to get a perfect fit, but the reality is that this will suffice better than the original 8x1.0mm part.

You can tell which one is mine - it has the machined bevel on it (the one on the right side), so it's not a lazy casting of unidentified-origin metal.

This hand plane is now fully functional.  I might need to make a spacer for the wood handle so that it can be anchored, but at least it's usable now.

Friday, May 27, 2022

Shoulda Put a Ring On It

I finally got a chance to get my boring head into use and made some rings.  I REALLY like the ceramic comfort rings, but that stainless looks fabulous!

I gotta make some more - those disappeared into some family hands way too fast.  I ordered some replacements, and set the inlay using resin with a few different variations.  I love the look of the stainless steel, but just know that HSS lathe tools or carbide lathe tools will mark them up - it's just a given.  I've turned stainless using these materials in the past, so it just stands to reason.

I like the ceramic.  It seems to be less impervious to turning tools.  They don't come in silver, which is bad, but they still look good.  Anyway, the inlays were done using 5-minute epoxy resin.  I'd squeeze a small bit out, mix it up, and then mix in the Tru-Stone.  I'd asked my spouse what was wanted, and had colors all picked out.

After 5 minutes, I'd mix up another spot more, and drop that into the ring groove right next to the last drop.  I slowly worked my way around the ring until the entire inlay groove was filled.


I waited for a few days to let the resin fully cure.  I simply used a wood dowel to store them on while they cured and pull them inside at night (when it got cooler), and back out during the day to cure.


Once the inlays were set, I could turn them.  As I have two different sizes, I needed to use different bushings, so I ran through mine and then my spouses.

 I turned each one down at a time.  The results were great!


They are complete, and give a little variety to what I can wear each day.

Nice Rack!

 Alright.  Spring was normal, meaning it got hot, and then froze, and then got hot, and then froze again.  It makes it difficult to create a garden in the springtime.

So, I grabbed some PVC 1/2" PVC pipe fittings and pipe (nothing threaded, because I want to be able to put it into a box at the end of the season).  The lengths of the cuts were determined by the planter bins.  It just pushes together, and bingo - a grow rack.  I made three levels - each one has four 90 degree elbows, 12 tee's, and a few sections of pipe made to fit.  With it pressed together, I needed to add some grow lights.  I picked up some grow lights off of Amazon, and needed a way to anchor them.

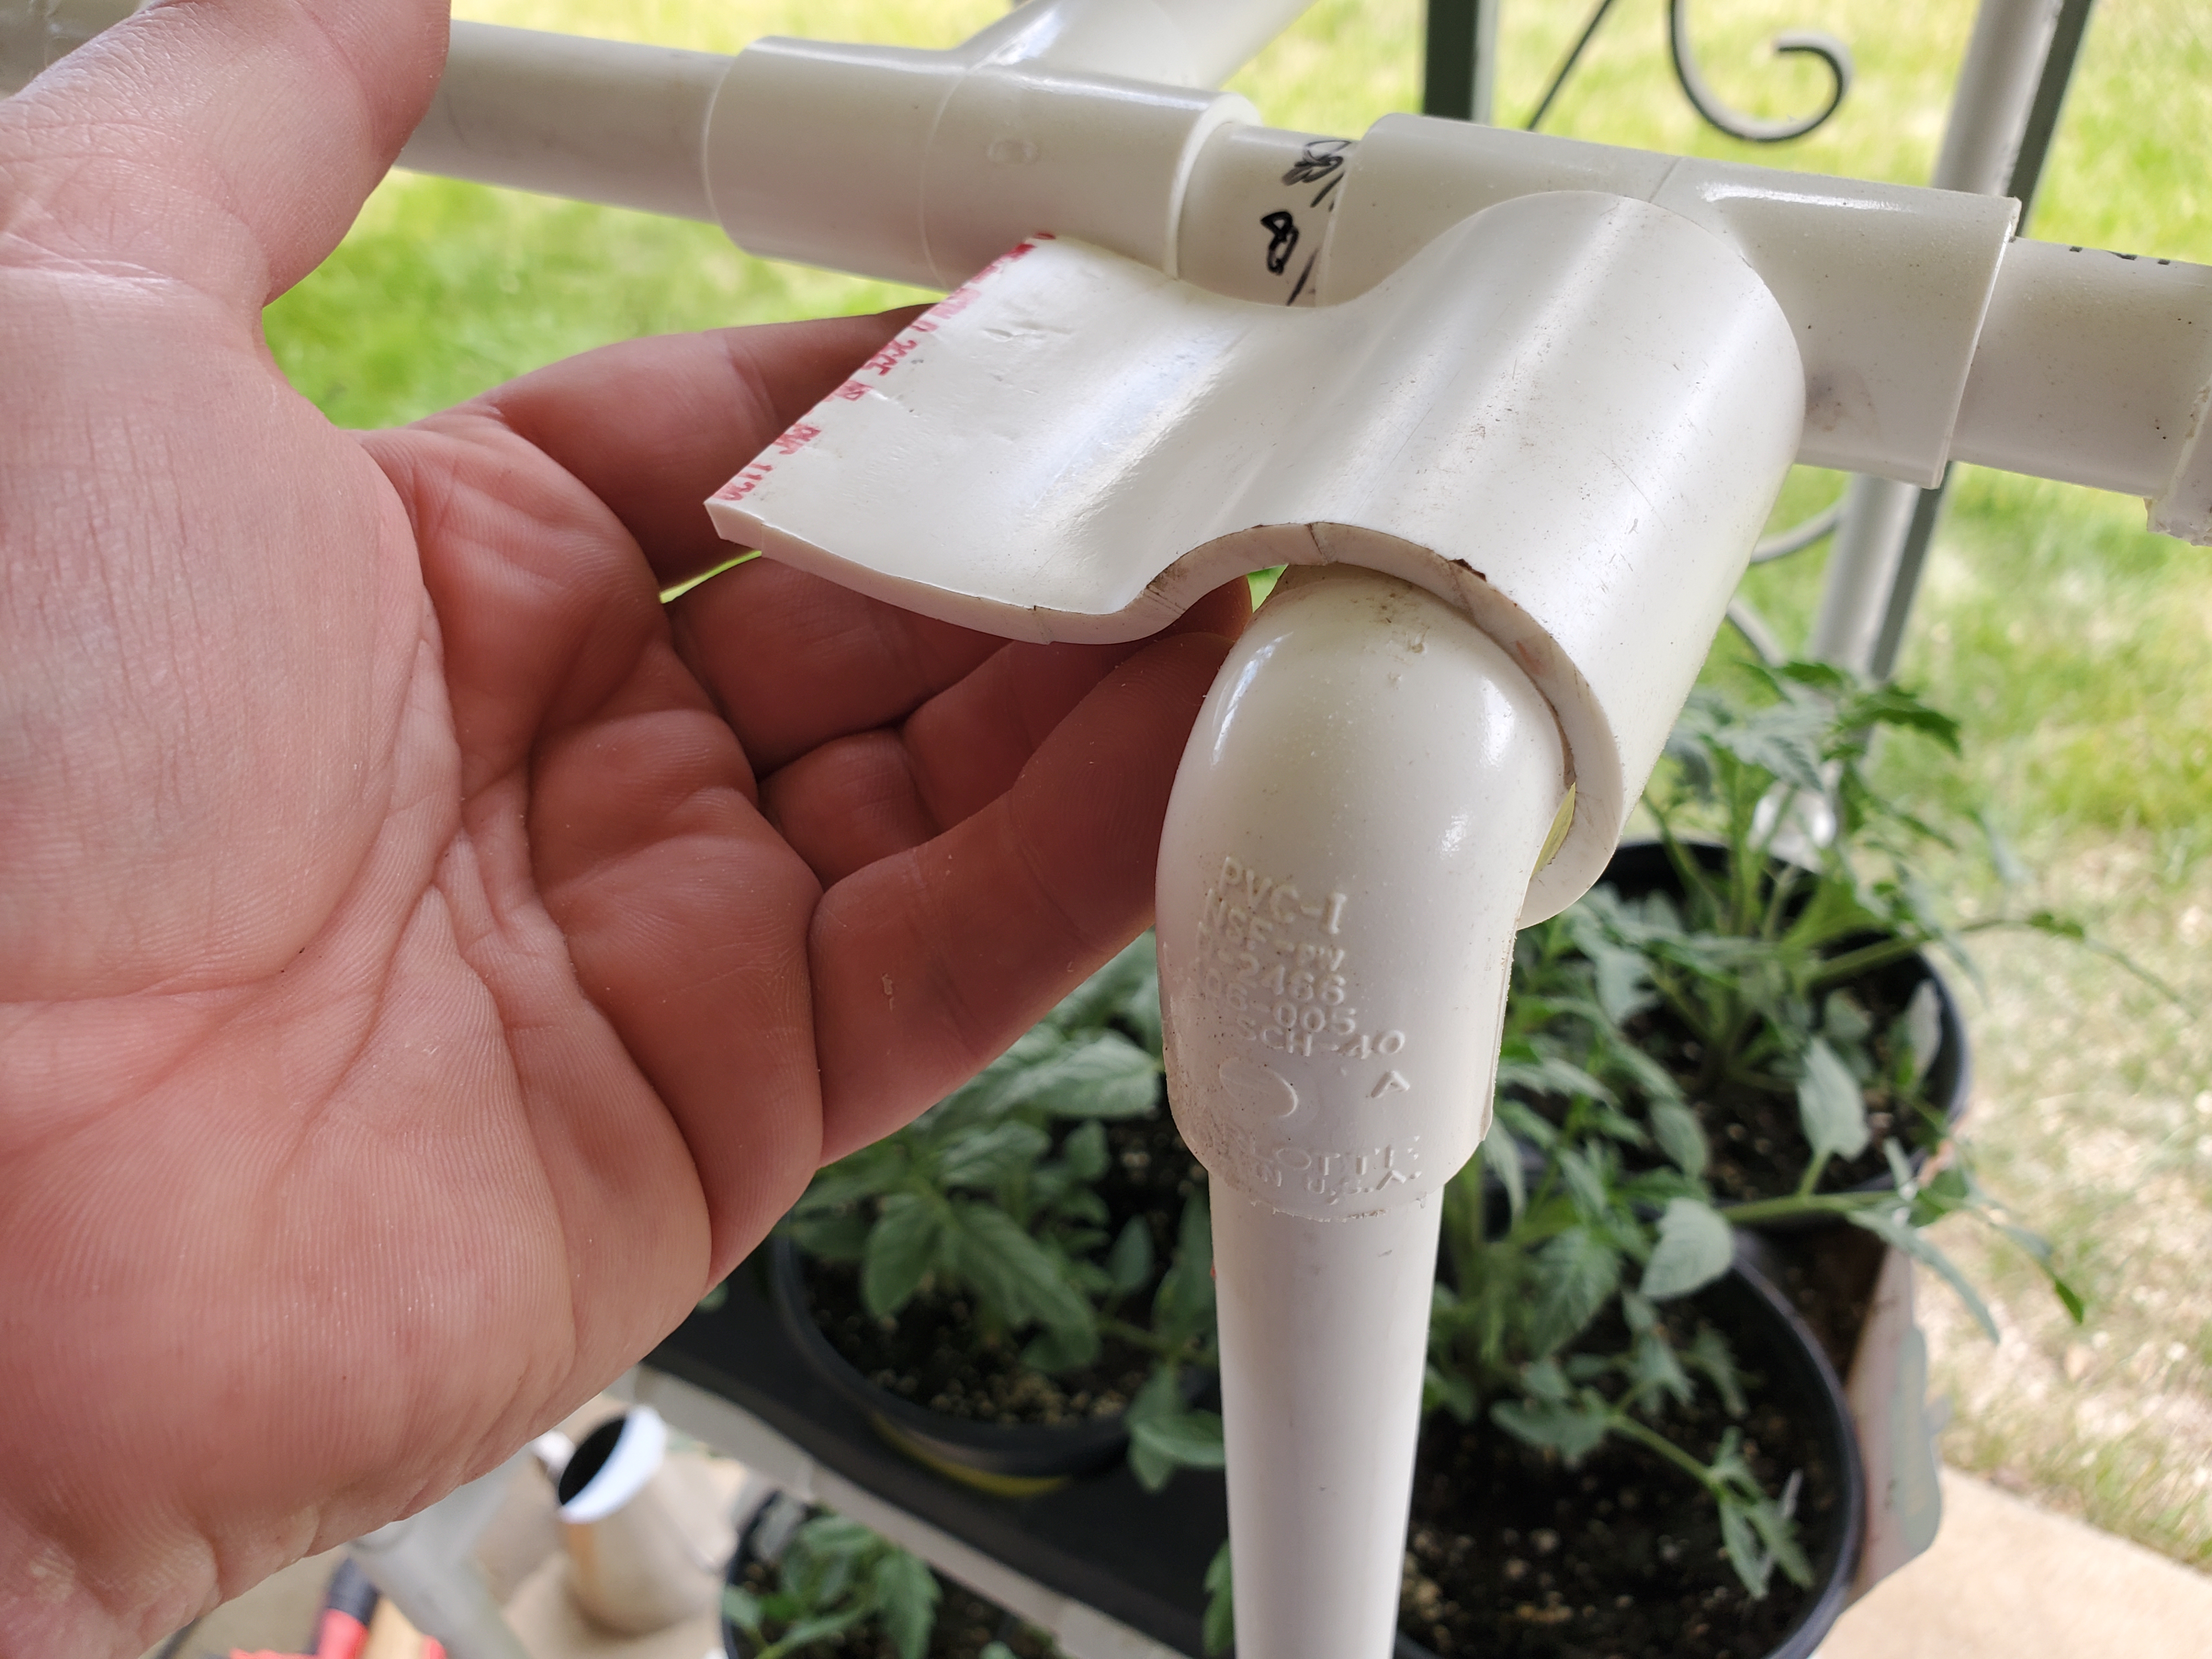
With 1/2" pipe fittings, I grabbed a 1 1/4" PVC pipe, and I put a slit up the pipe lengthwise long enough to cut off pieces for my flat adapter (but not all the way, because I didn't want it collapsing on the table saw blade and ripping it out of my hands - that would have been a bloody mess). I then sliced off 2" lengths of that.

The pieces around the slot were then heated and bent to form some "half pipes" with a flange.  That flange was then drilled.  I sliced up a cutting board (DO NOT USE A TABLE SAW FOR THIS) to get lengths, and then drilled those to match.  They got screwed together.


I could then clip everything together and fire it up :


I know I'm about a month or two late, but next year should give us a garden early.

While there, I ran some 1/4" tube to automagically water the hanging flower pots.


These have valves to turn off individual off shoots, so it is perfectly controllable.  Garden ... check!